Hotel Catalina – Catalina 36 – below deck autopilot
Introduction
My 2019 goal was to install a new below deck autopilot on our Catalina 36. I had a lot of time to source the parts and no real time line, so I really took my time to try to find the best deal on the parts.
The main choice to replace Hotel Catalina ST4000+ wheel pilot was the lack of reliability as soon as condition was a bit challenging. Also the idea to have an autopilot able to follow a sail point was very appealing!
At the end I am very happy with my choice to upgrade to this B&G system, since the setup we completed few cruises with different wind and sea conditions. The autopilot was always performing perfectly in heading or in wind mode. I really advise B&G technology and most importantly their support team, through facebook messenger, email and phone.
Parts
Total cost: ~$3,529 + miscellaneous parts (epoxy, fibreglass, drill bit…)
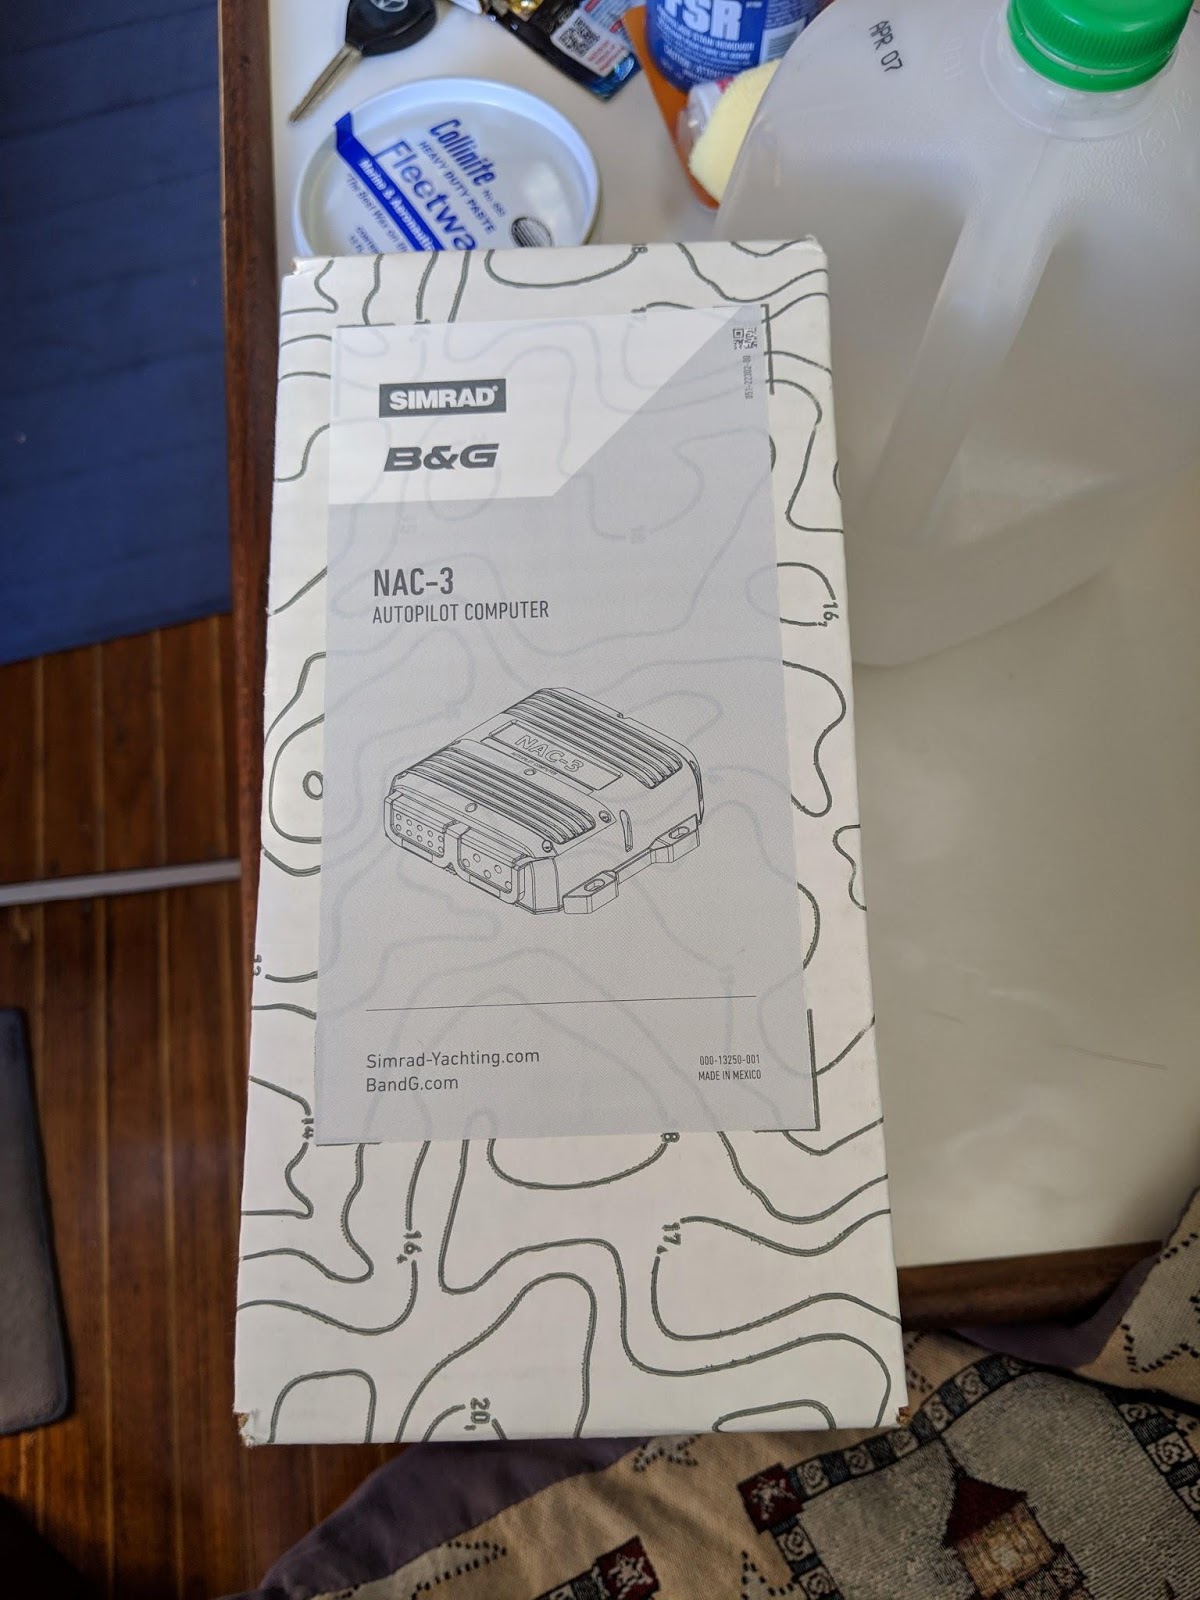
- B&G nac-3: $1,100 – https://www.defender.com/product.jsp?path=-1|344|2028687|2028716&id=3467058
- B&G drive unit t1 (used): $1,000 – https://www.defender.com/ProductDisplay?id=3542975
- Simrad controller (used): $99 – https://www.defender.com/product.jsp?path=-1|344|2028687|2028714&id=3470315 – $270
- B&G precision 9 (used): $450
- B&G rf25 nmea 2000 – $240
- Edson tiller bronze: $400
- Drill bit: https://www.amazon.com/DEWALT-DW1610-8-Inch-12-Inch-Extra/dp/B00004RGYQ/ref=sxbs_sxwds-stvp?keywords=10%E2%80%B3+3%2F8+bit+%28Black+Oxide%29&pd_rd_i=B00004RGYQ&pd_rd_r=cfa7b41e-72af-4e5c-a50e-3086adf6eaa0&pd_rd_w=WVBd7&pd_rd_wg=Wmxqe&pf_rd_p=a6d018ad-f20b-46c9-8920-433972c7d9b7&pf_rd_r=1G91HA7DEJS6JCDKK5HE&qid=1560207538&s=gateway
- B&G bluetooth remote: $240
Timeline & Cost
This is how much each part costs me. I am sure I missed a lot of costs like plywood, epoxy and hardware.
|
2019-03-29 |
autopilot – installed compass precision 9 (used) |
$450 |
|
2019-06-09 |
autopilot – nac 3 head unit setup |
$1,100.00 |
|
2019-06-09 |
autopilot – t1 ram |
$1,000.00 |
|
2019-06-09 |
autopilot – edson tiller |
$450.00 |
|
2019-07-24 |
autopilot – wiring (power + n2k) |
$100 |
|
2019-07-24 |
autopilot – bilge paint on the shelf area for the tiller arm |
$15 |
|
2019-09-02 |
autopilot – cut hole in navpod for autopilot controller |
$0 |
|
2019-09-22 |
autopilot – install rudder sensor rf25n |
$197 |
|
2019-09-27 |
update triton2 firmware |
$0 |
|
2019-09-28 |
autopilot completed! |
$0 |
Wiring Diagram
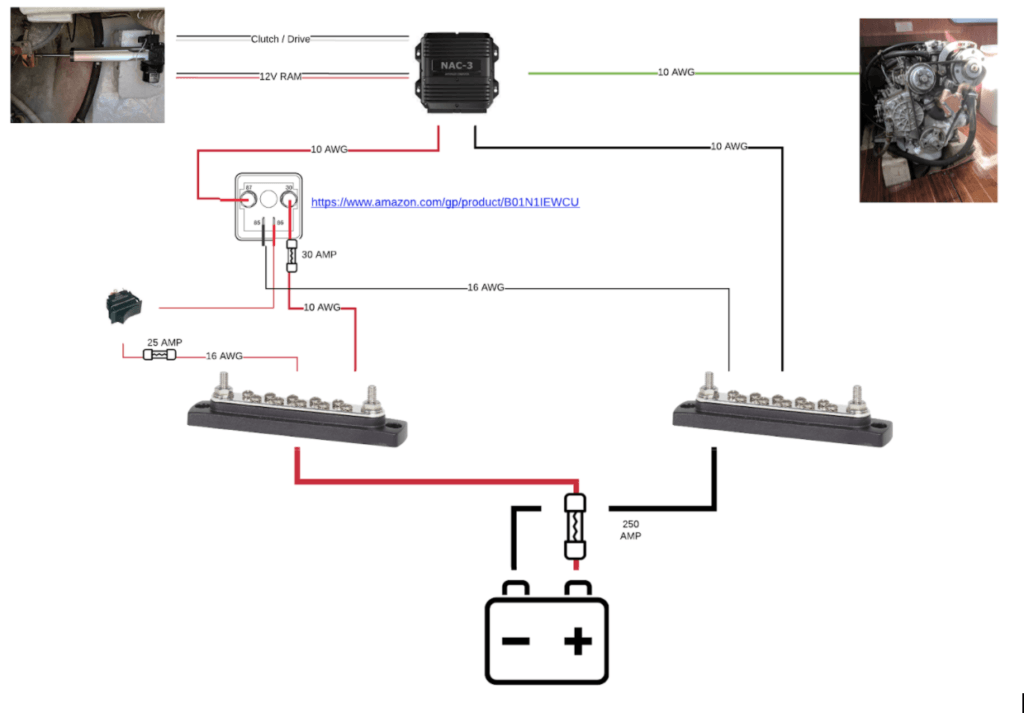
Here is a wiring diagram, I mostly built it to be able to communicate with B&G when I had some questions about the wiring of the T1 RAM. B&G was very helpful across the complete process.
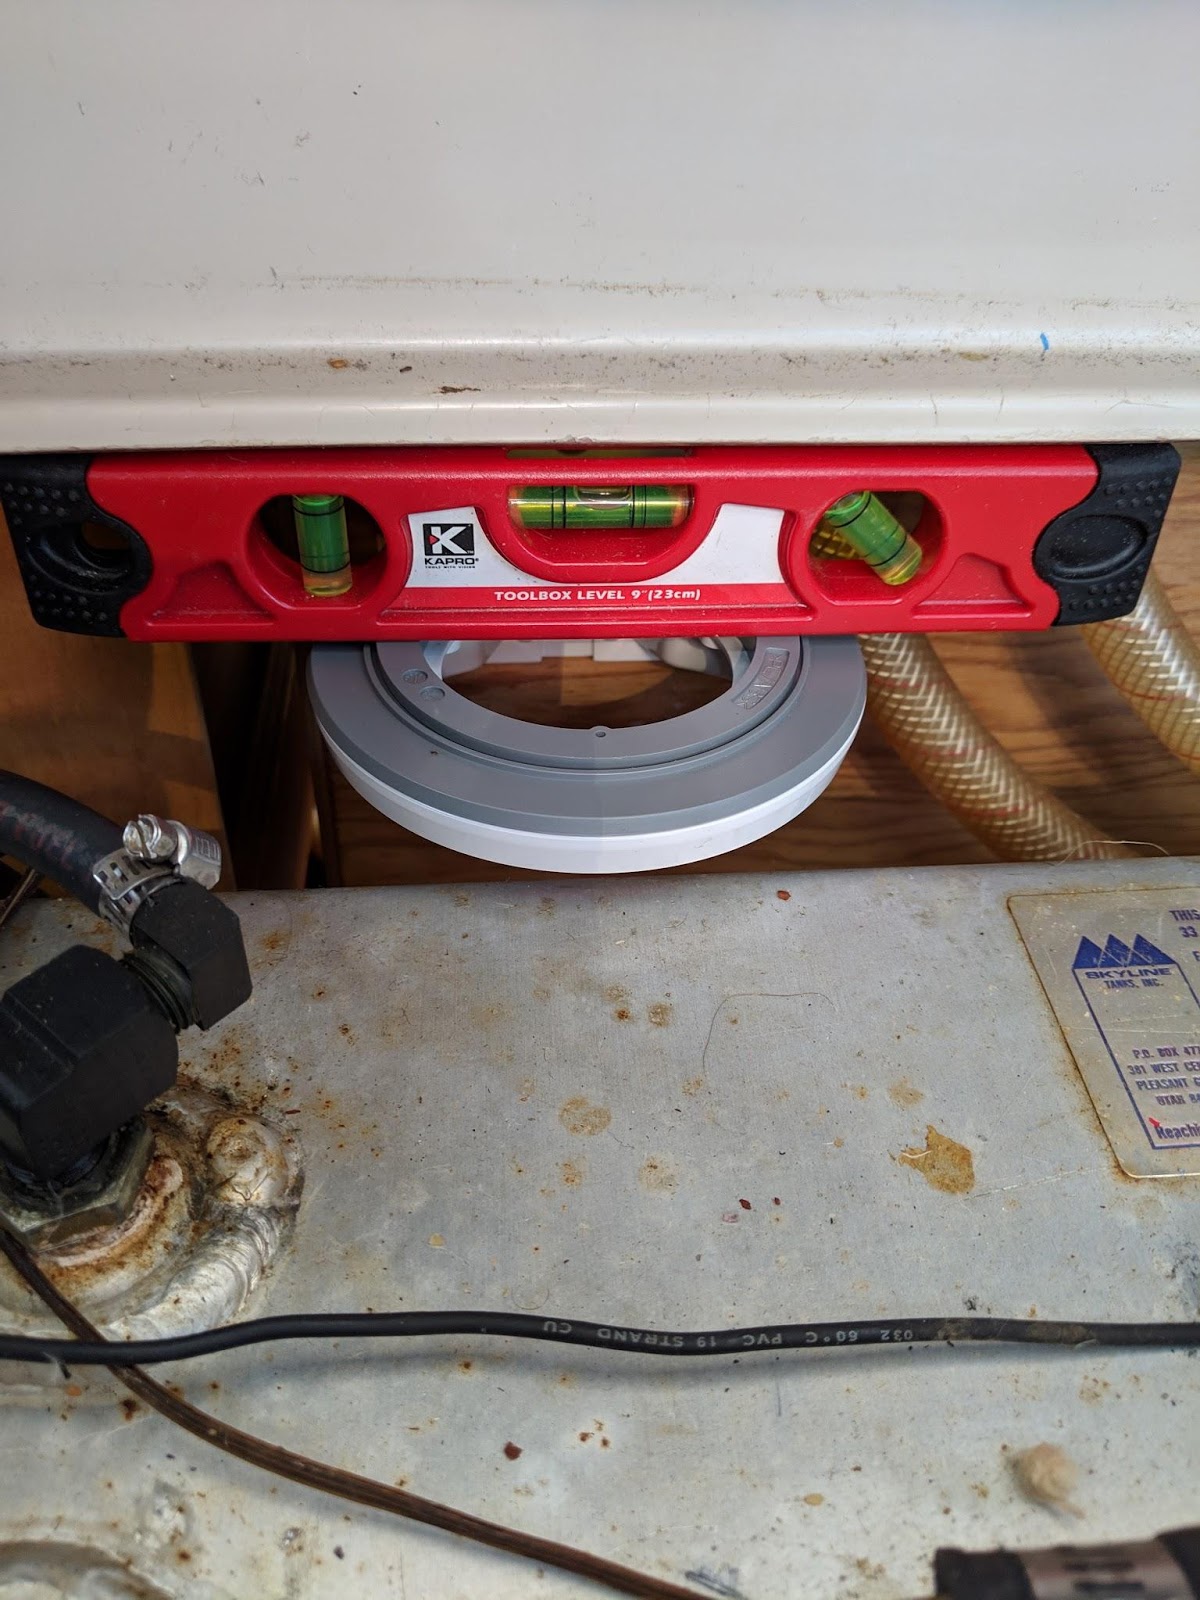
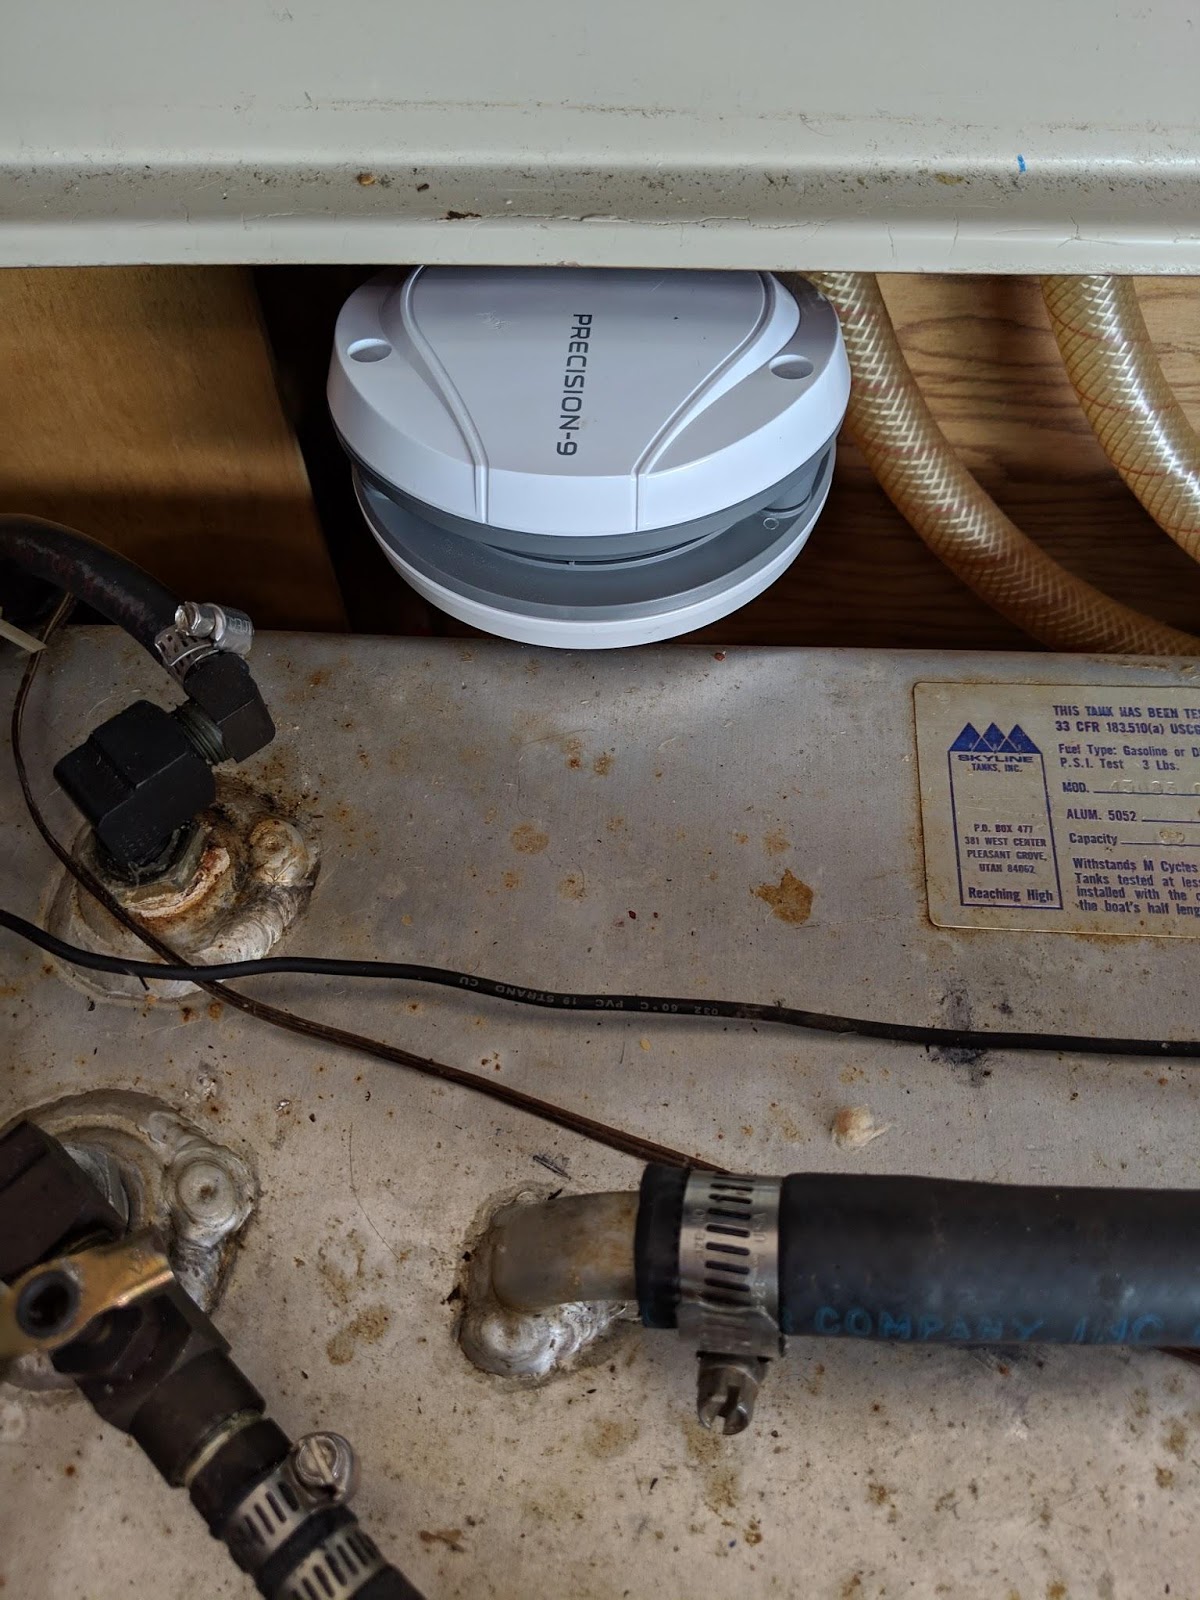
B&G Compass precision 9 install
I had to figure out where to set it up, honestly I should have checked with a compass there was not too much variation in this specific spot. Especially with the big fuel tank next to it. I calibrated the precision 9 a couple of times in adding the corresponding offset through the B&G setup tool.
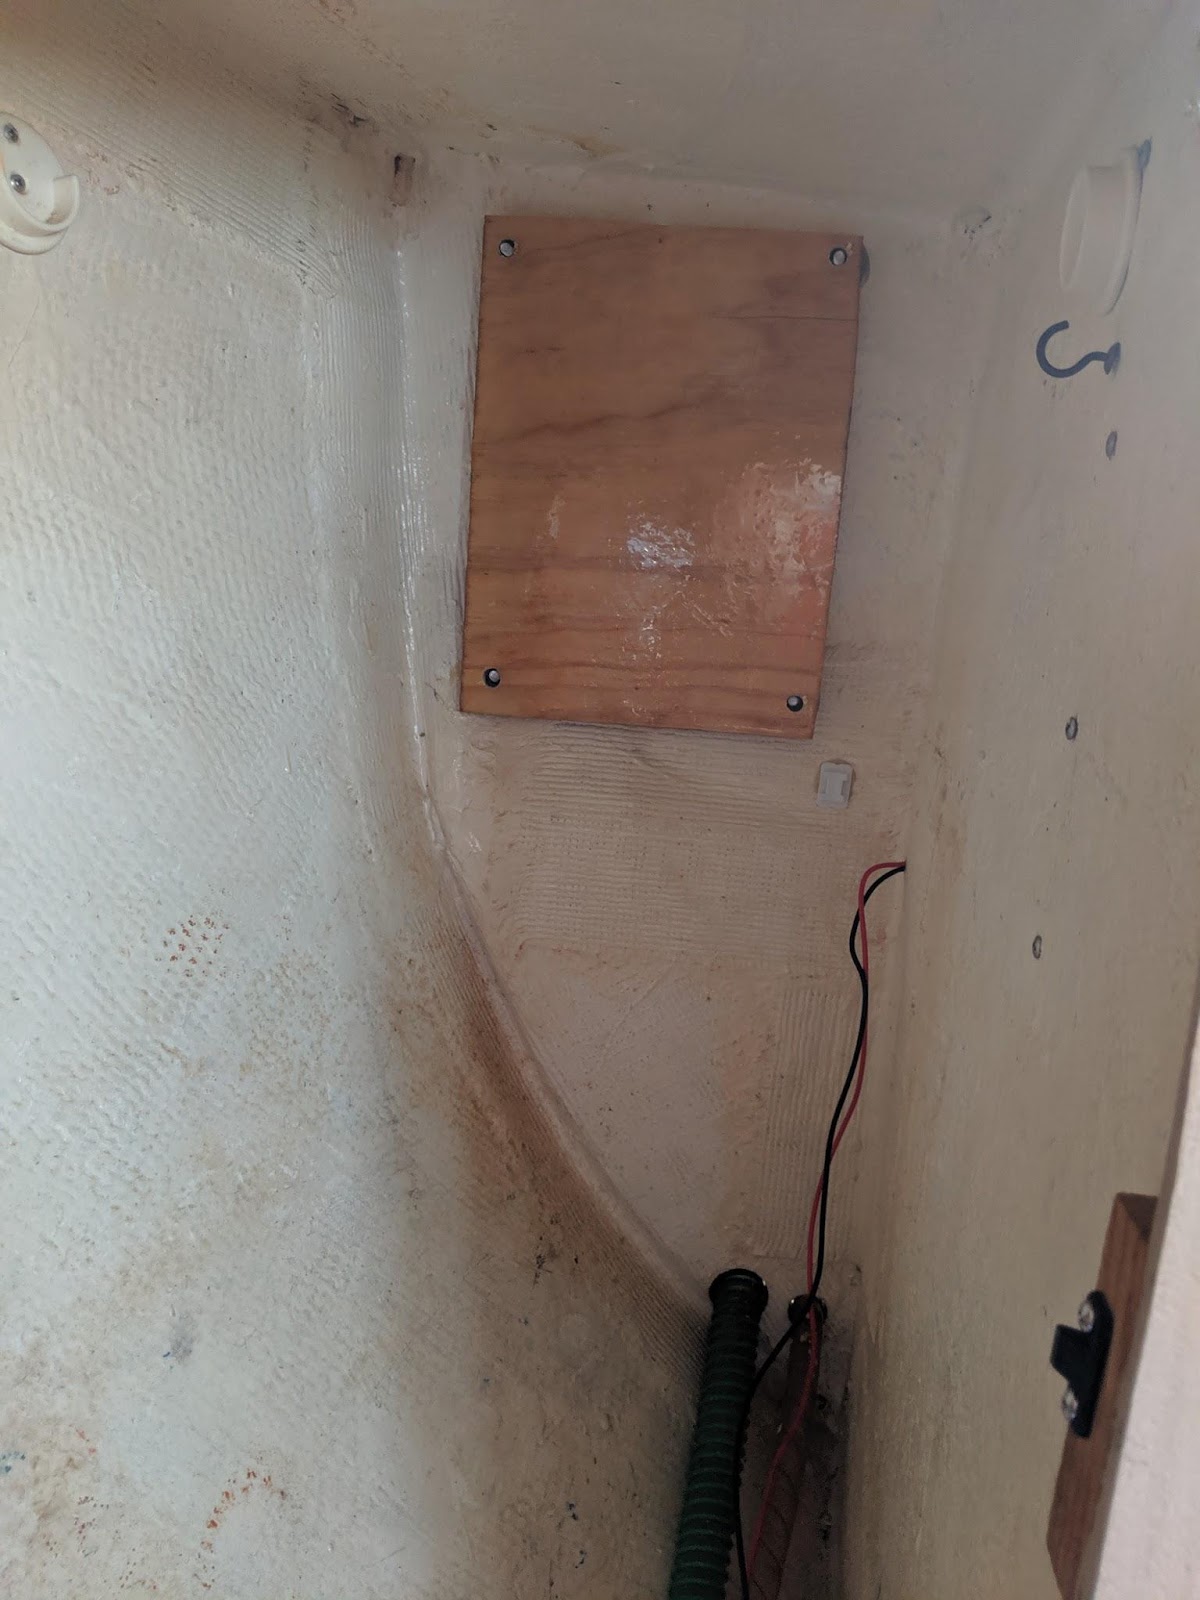
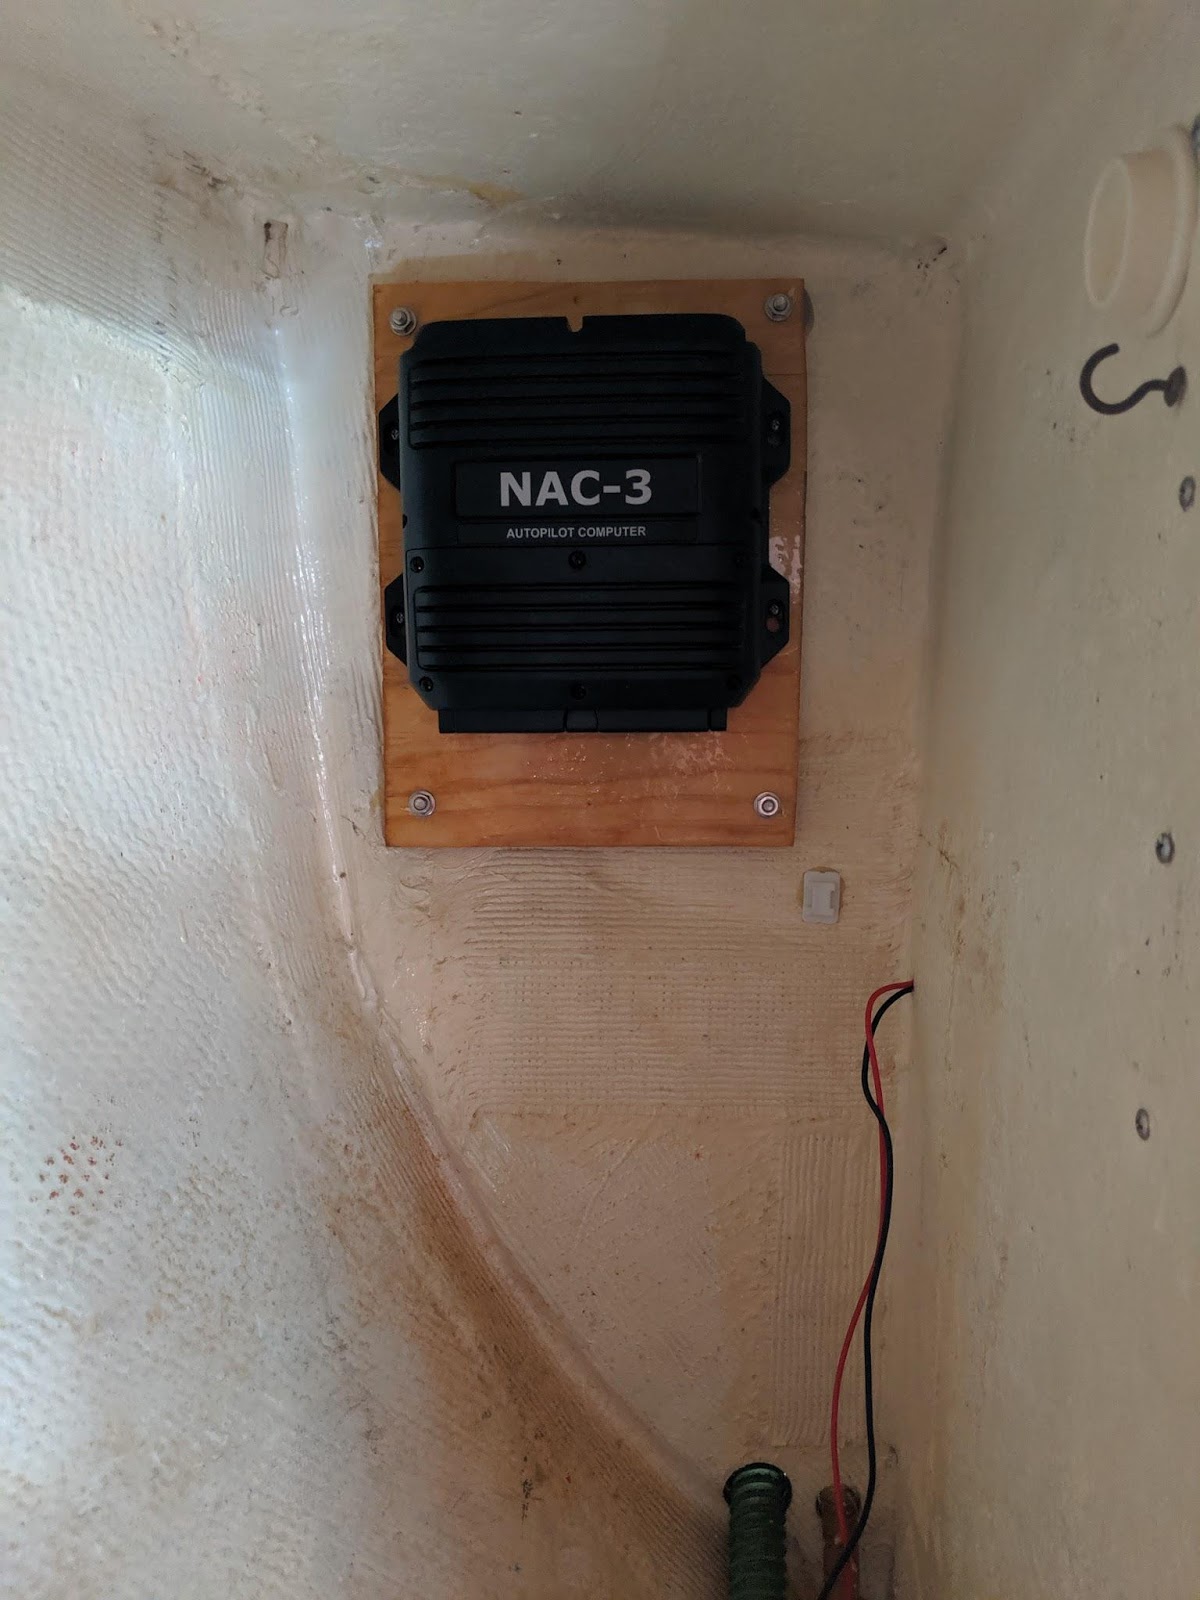
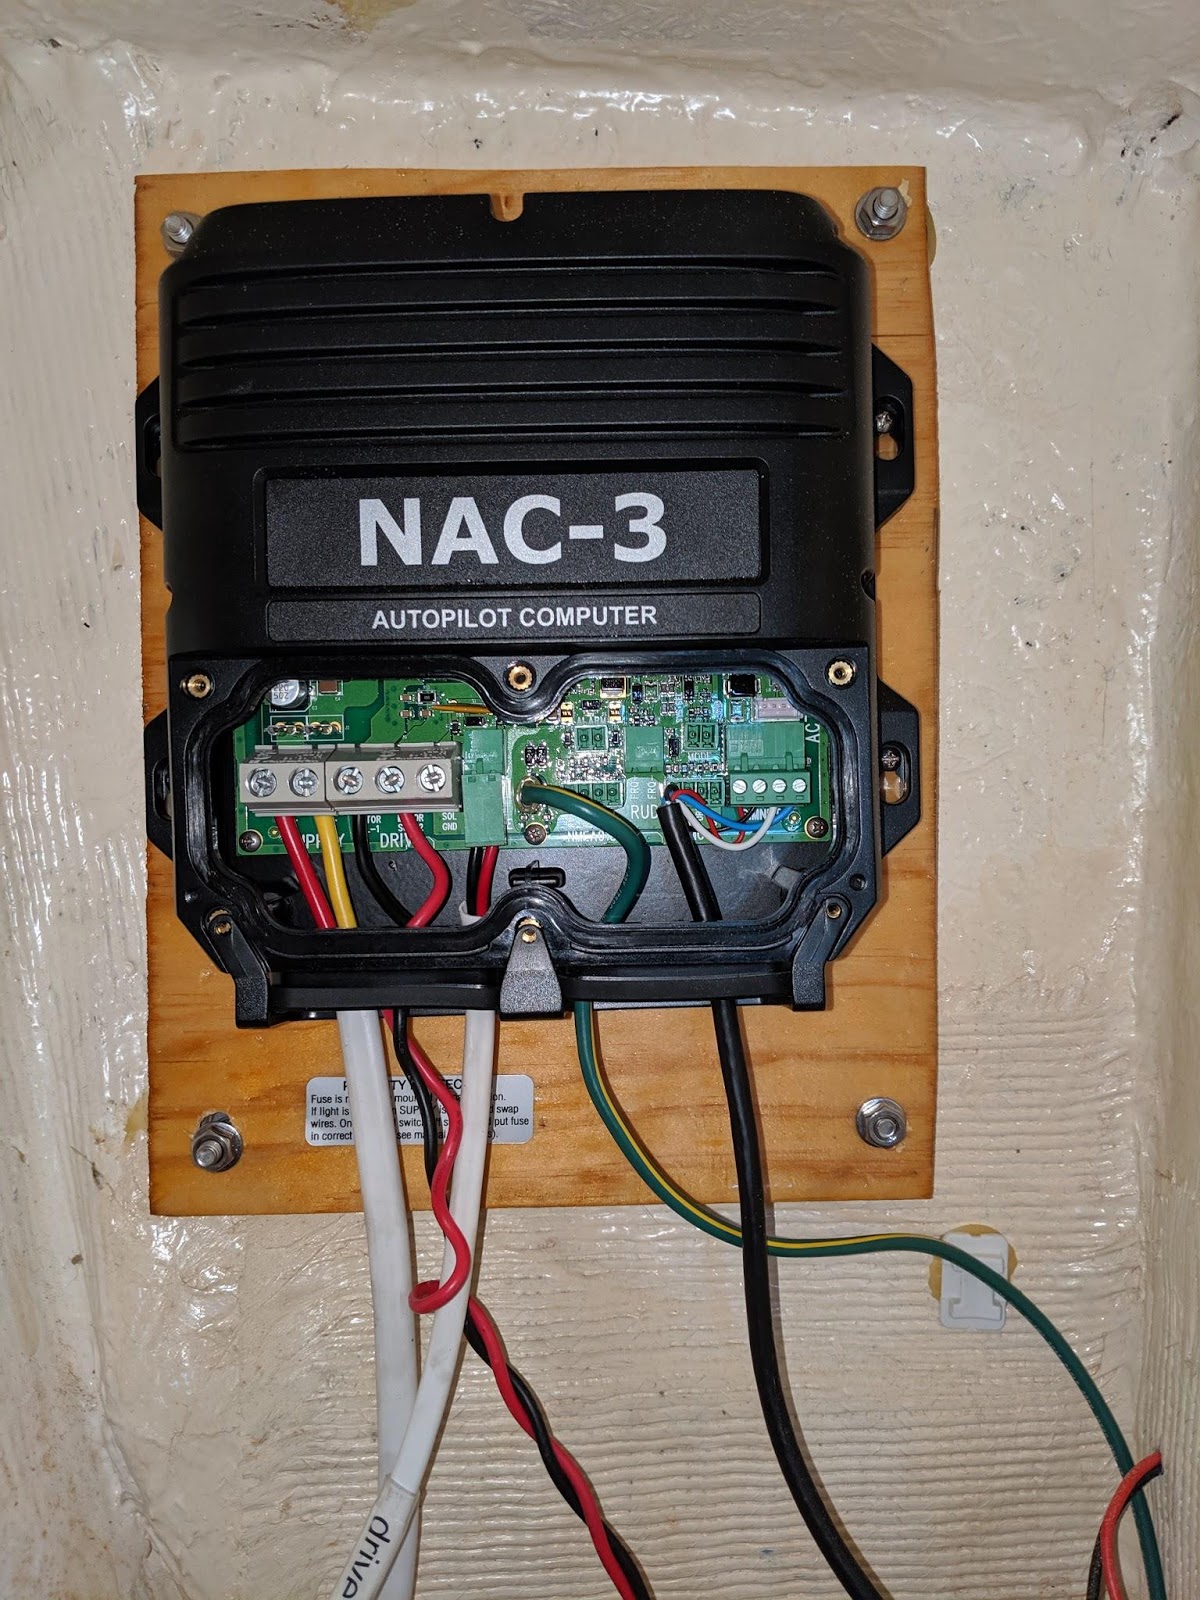
B&G NAC-3 Head Unit
Nothing special about this effort, except I realized later about the amount of power it would require and the fact I had to add a relay to avoid burn out the dedicated panel switch for the autopilot.
- Relay: Car Auto Heavy Duty Split Charge DC 12V 100A 100 AMP SPST Relay 4 Pin 4P RL180 ($10)
- Fuse holder: Blue Sea Systems Waterproof in-Line ATO/ATC Fuse Holder ($9)
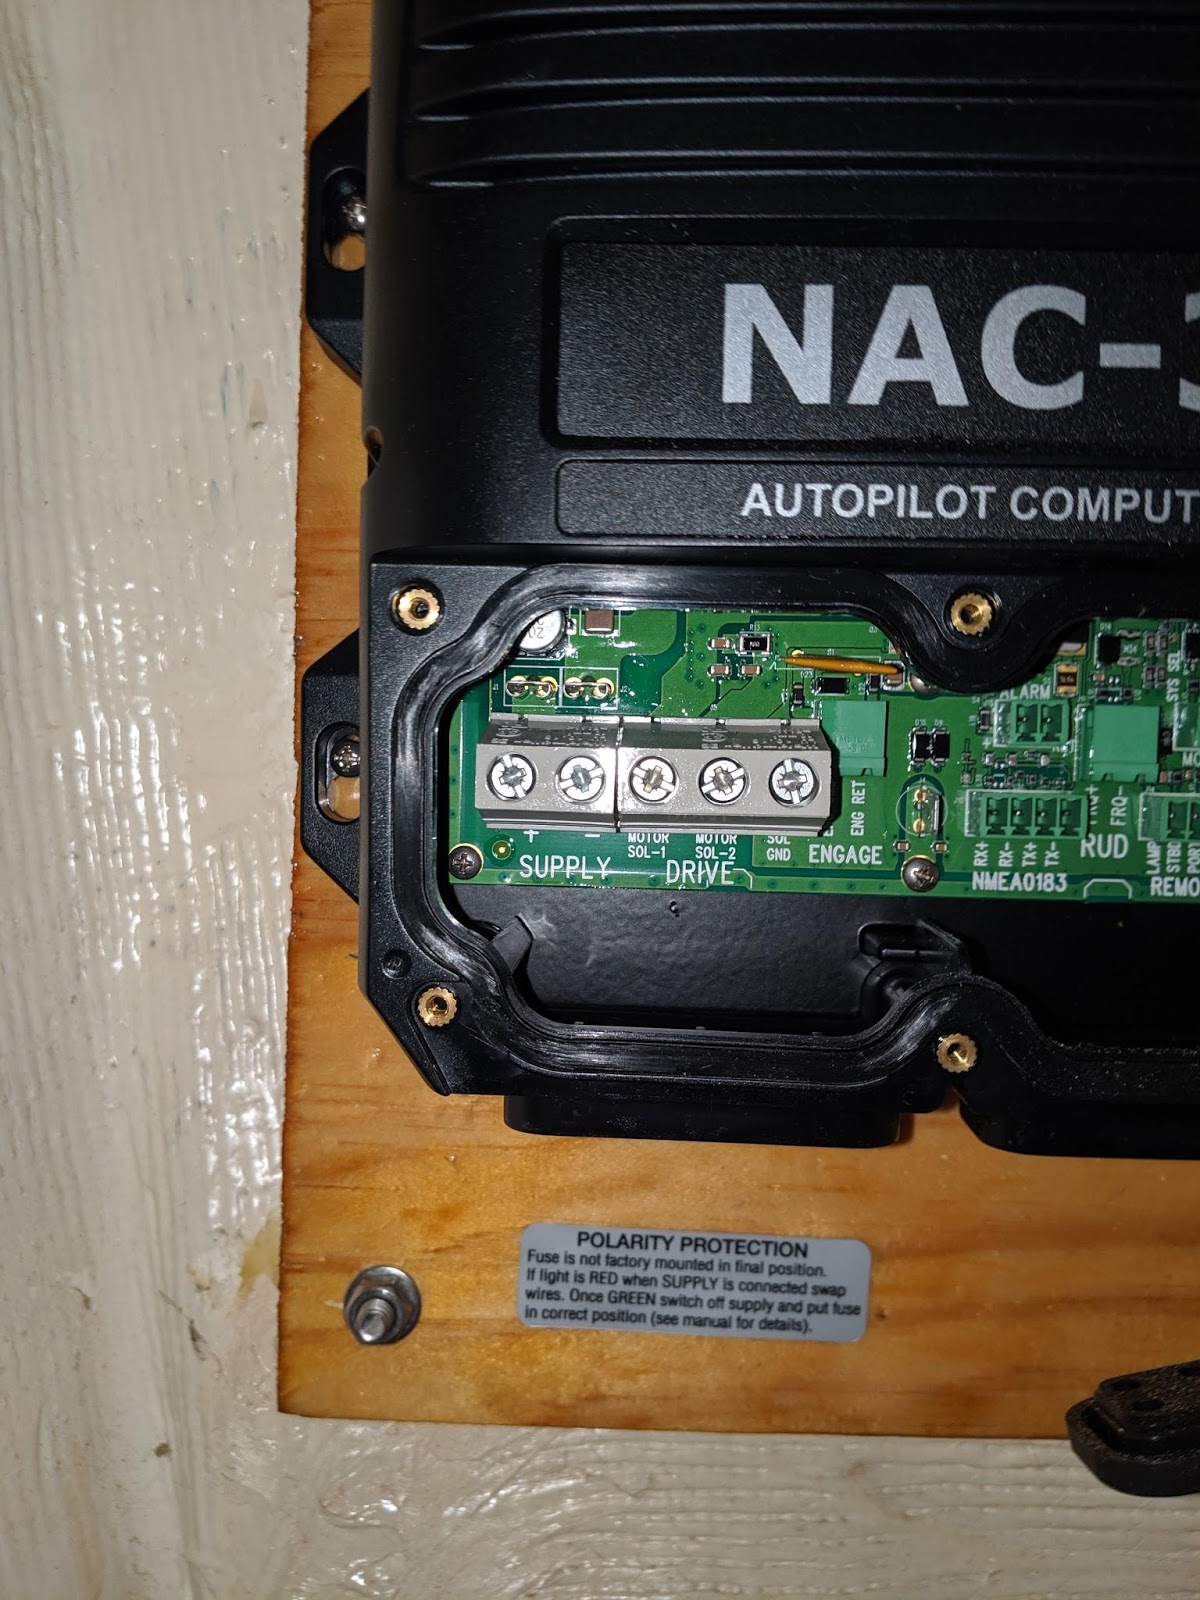
Next I had doubts how to connect motor-sol1 and motor-sol2. B&G documentation is not very helpful… Same for the drive engage…
After I asked for excellent B&G support on facebook messenger! It doesn’t matter, you can connect either way. Just for motor-sol1 and motor-sol2, you need to swap if it turns the wrong way.
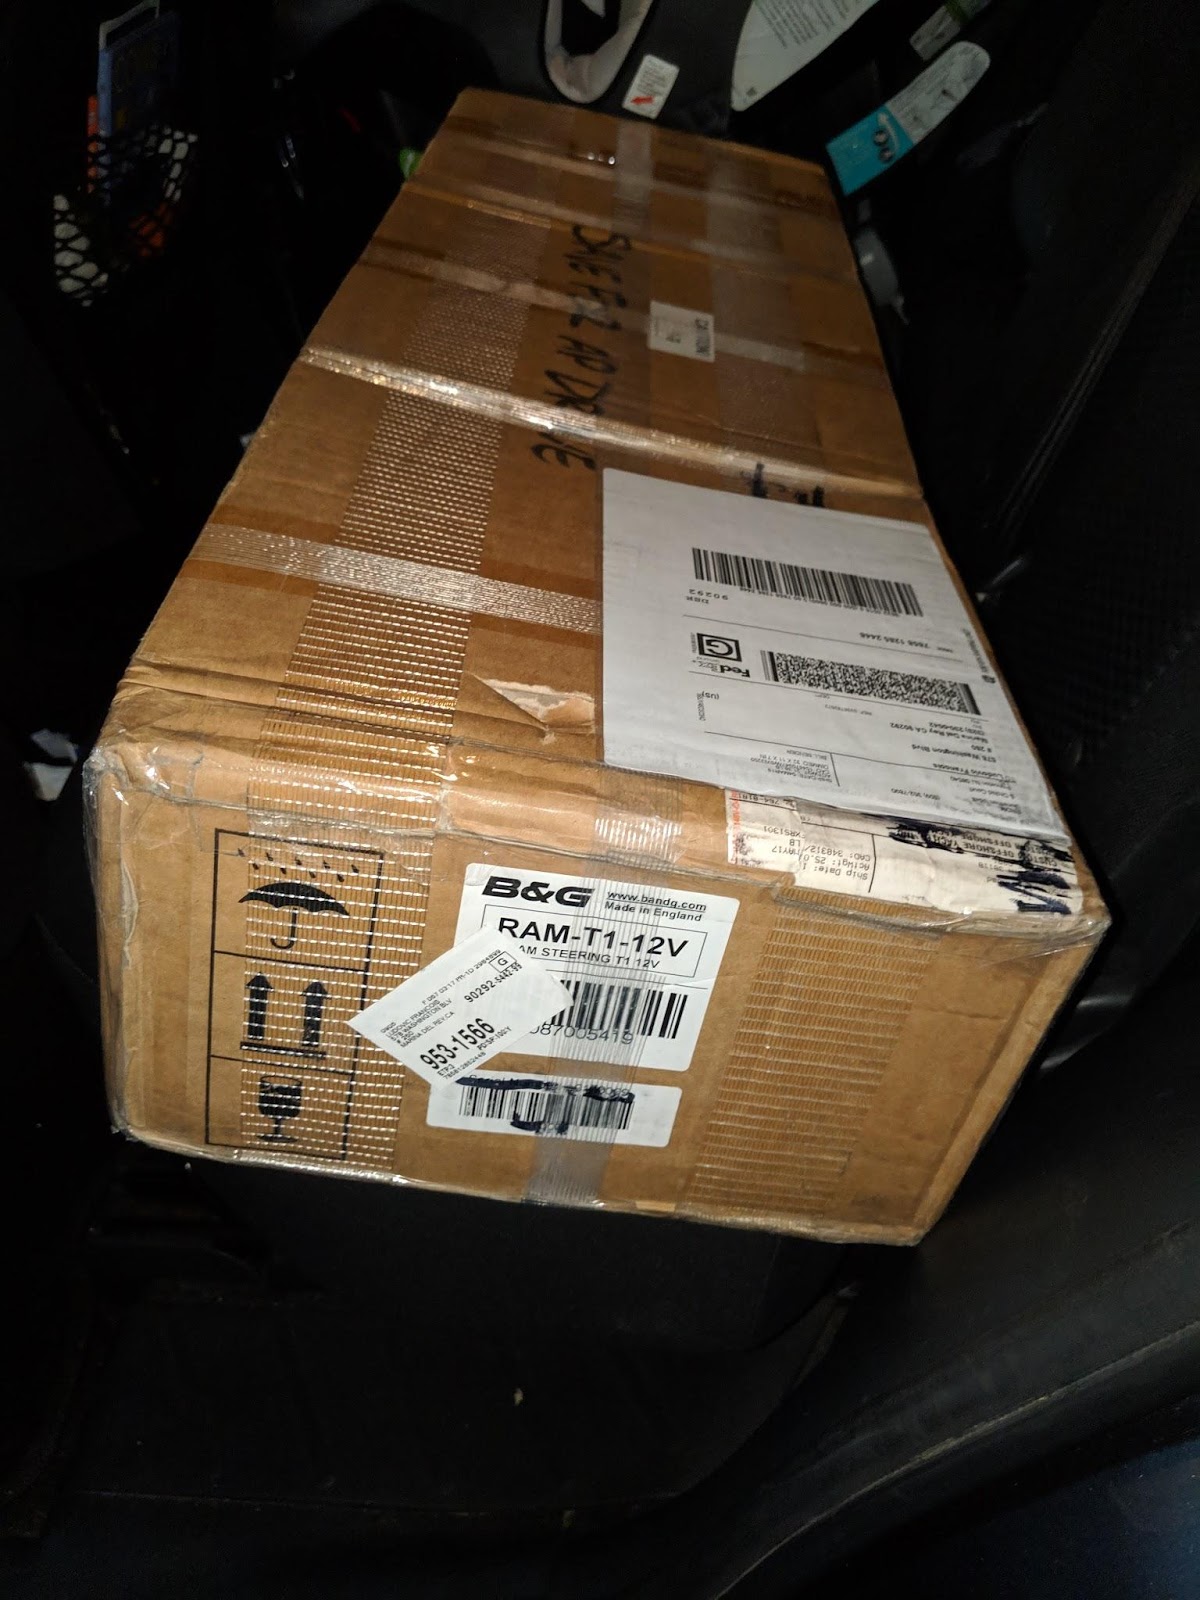
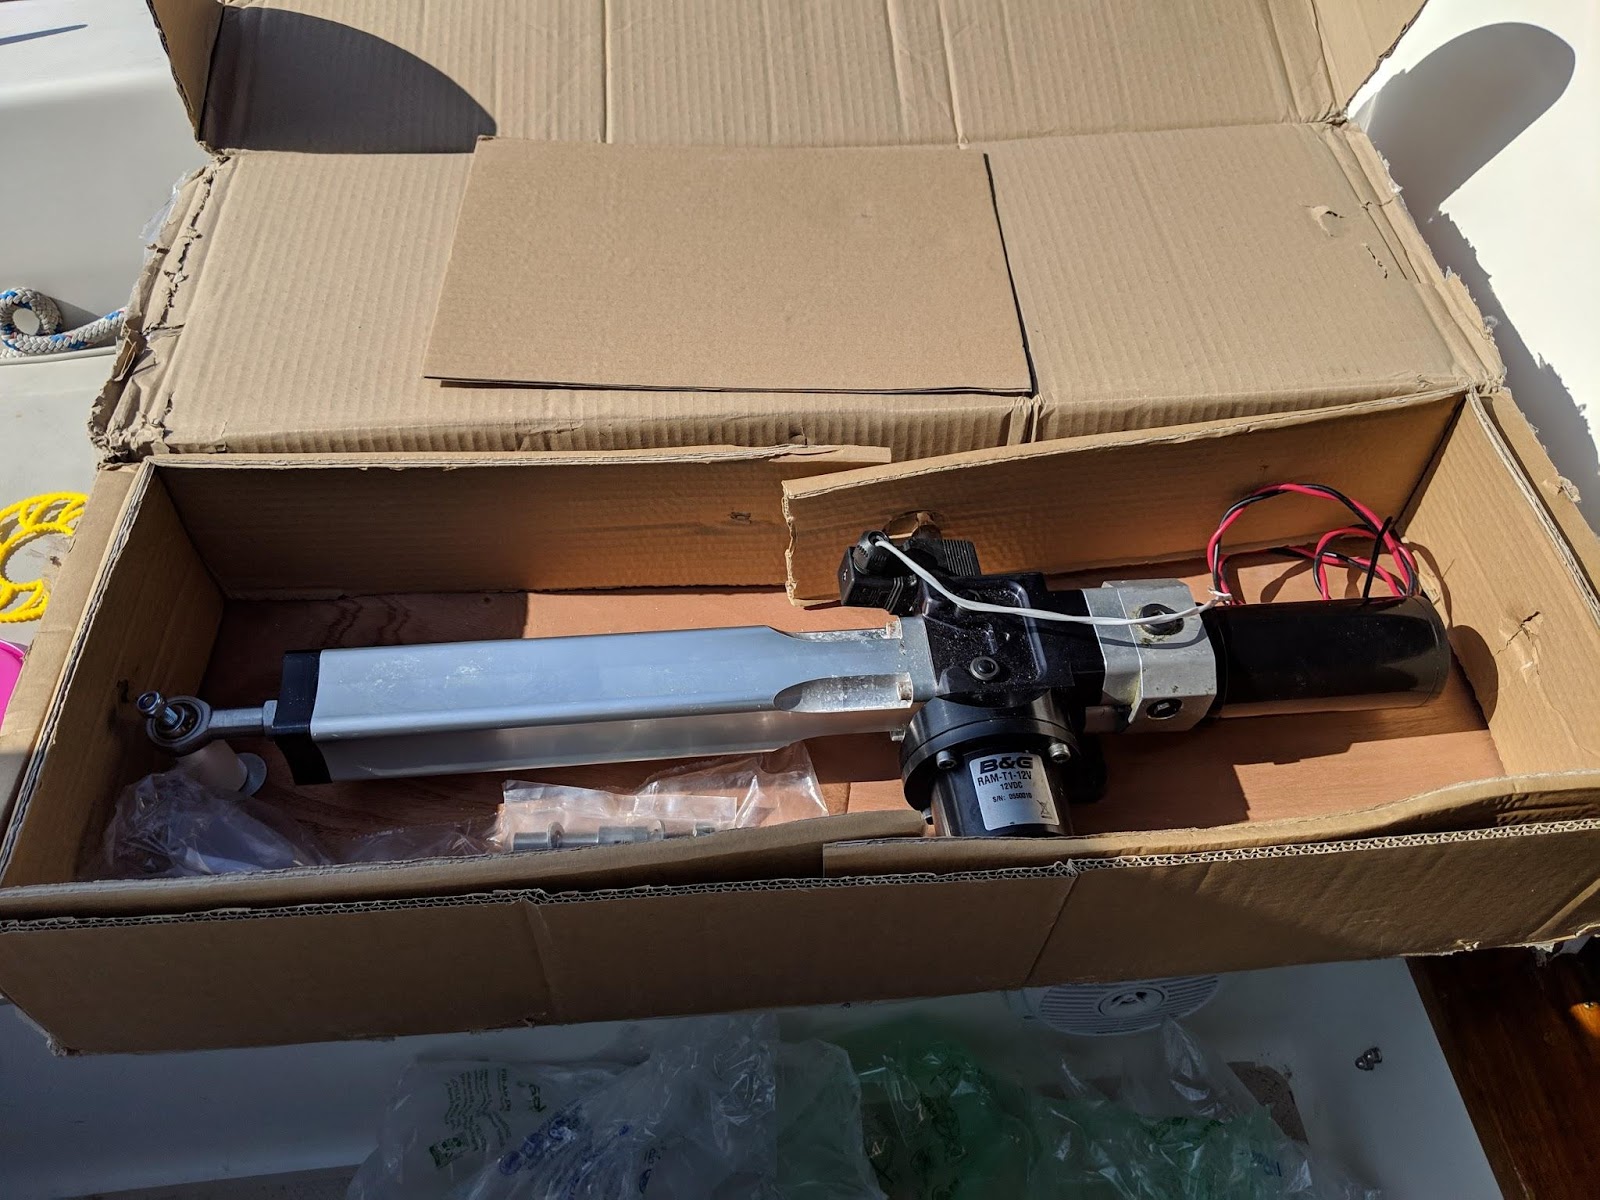
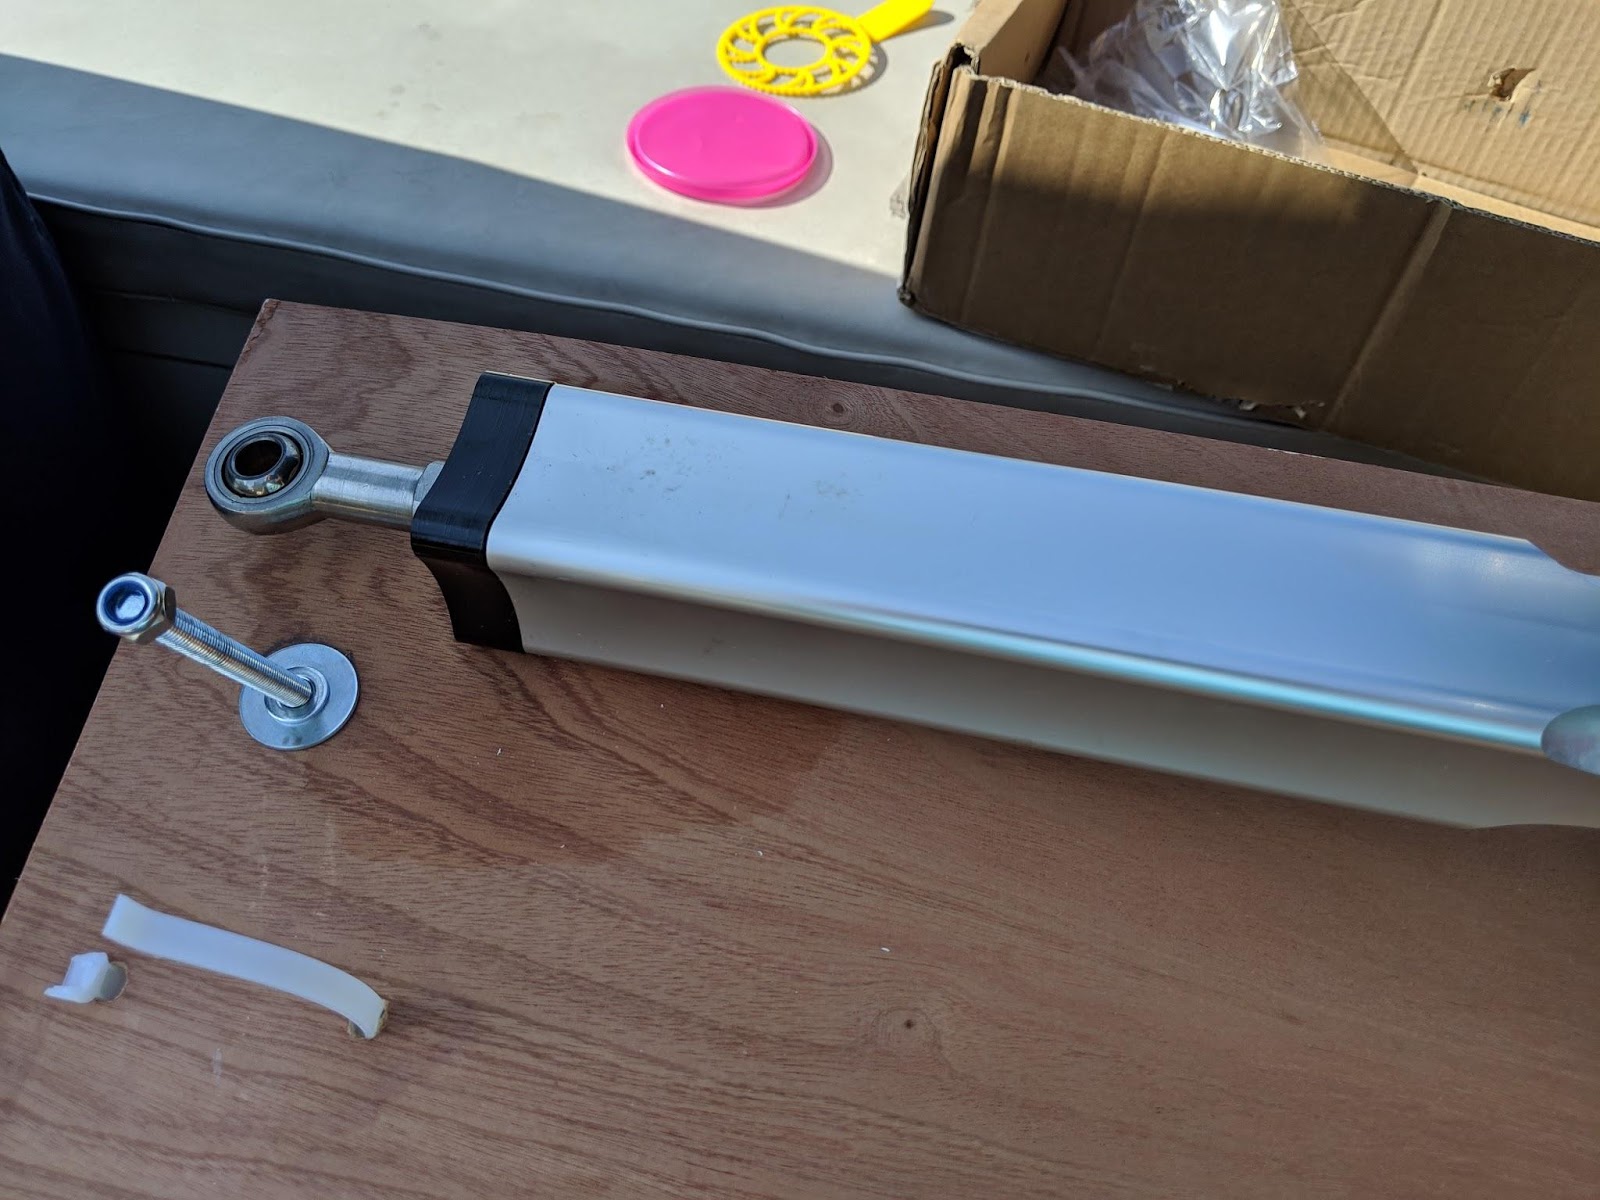
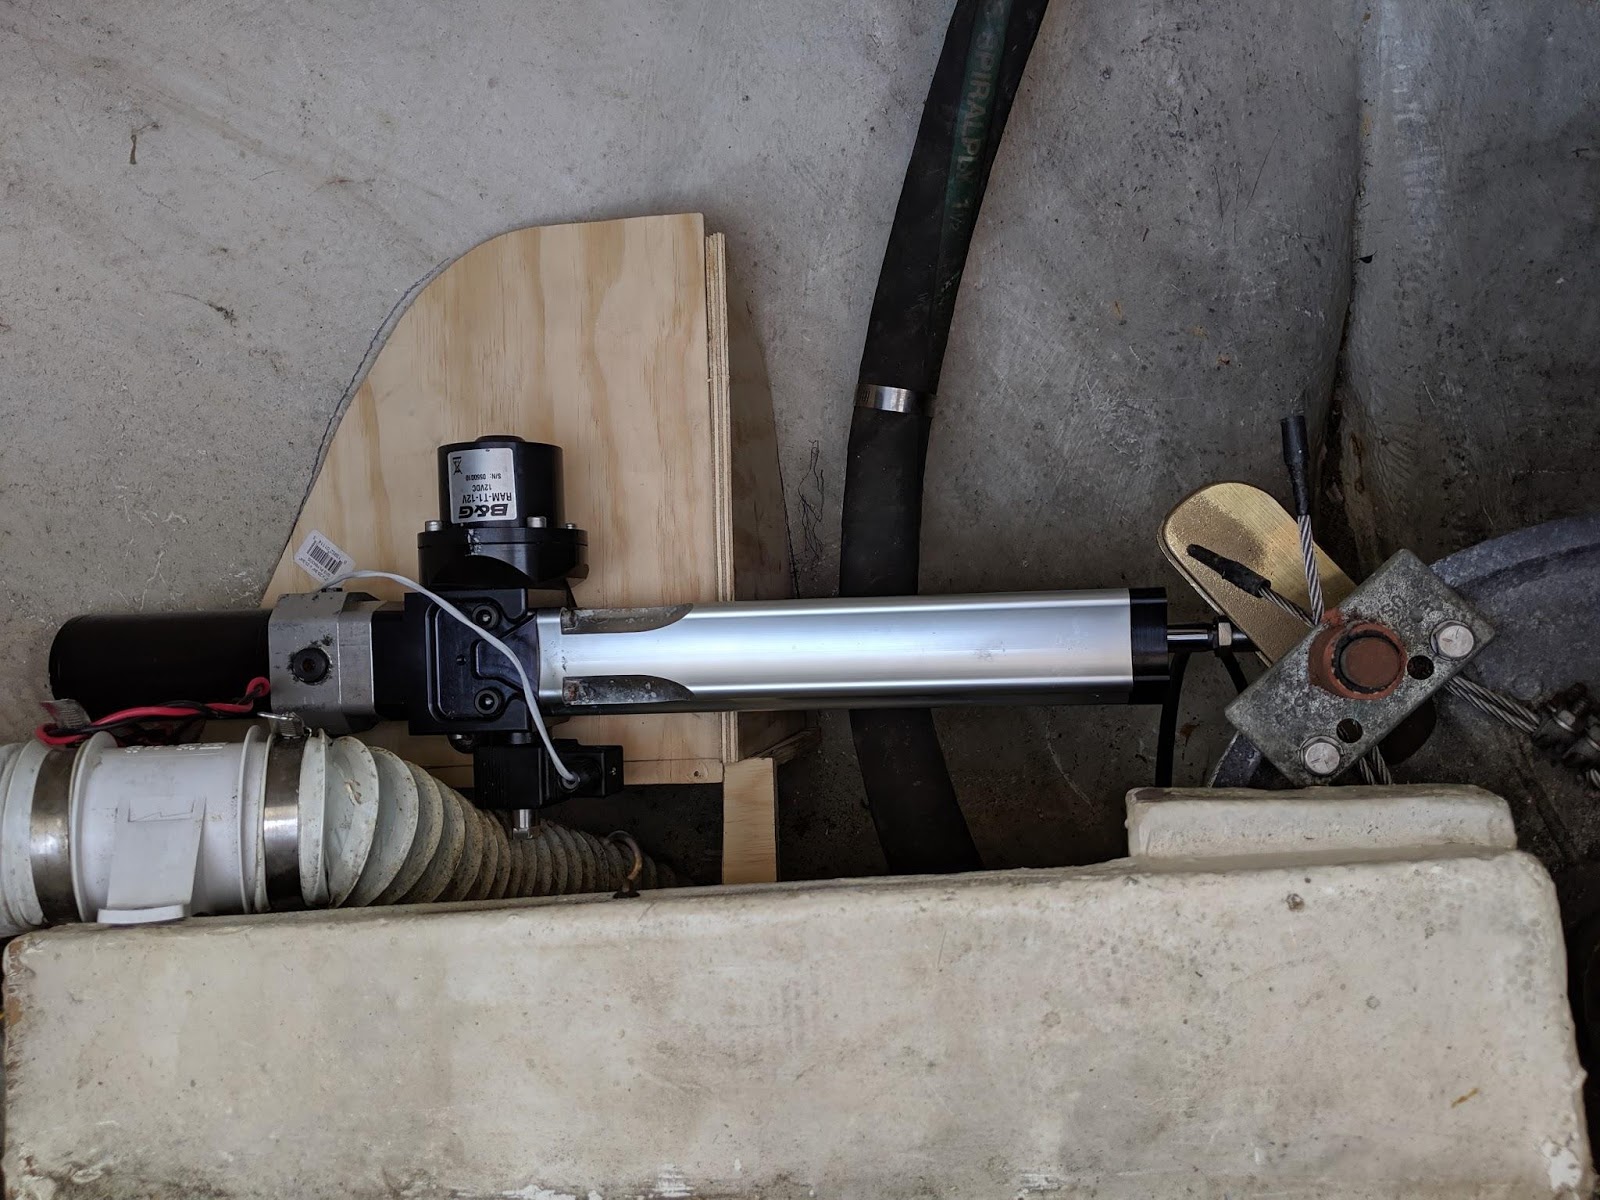
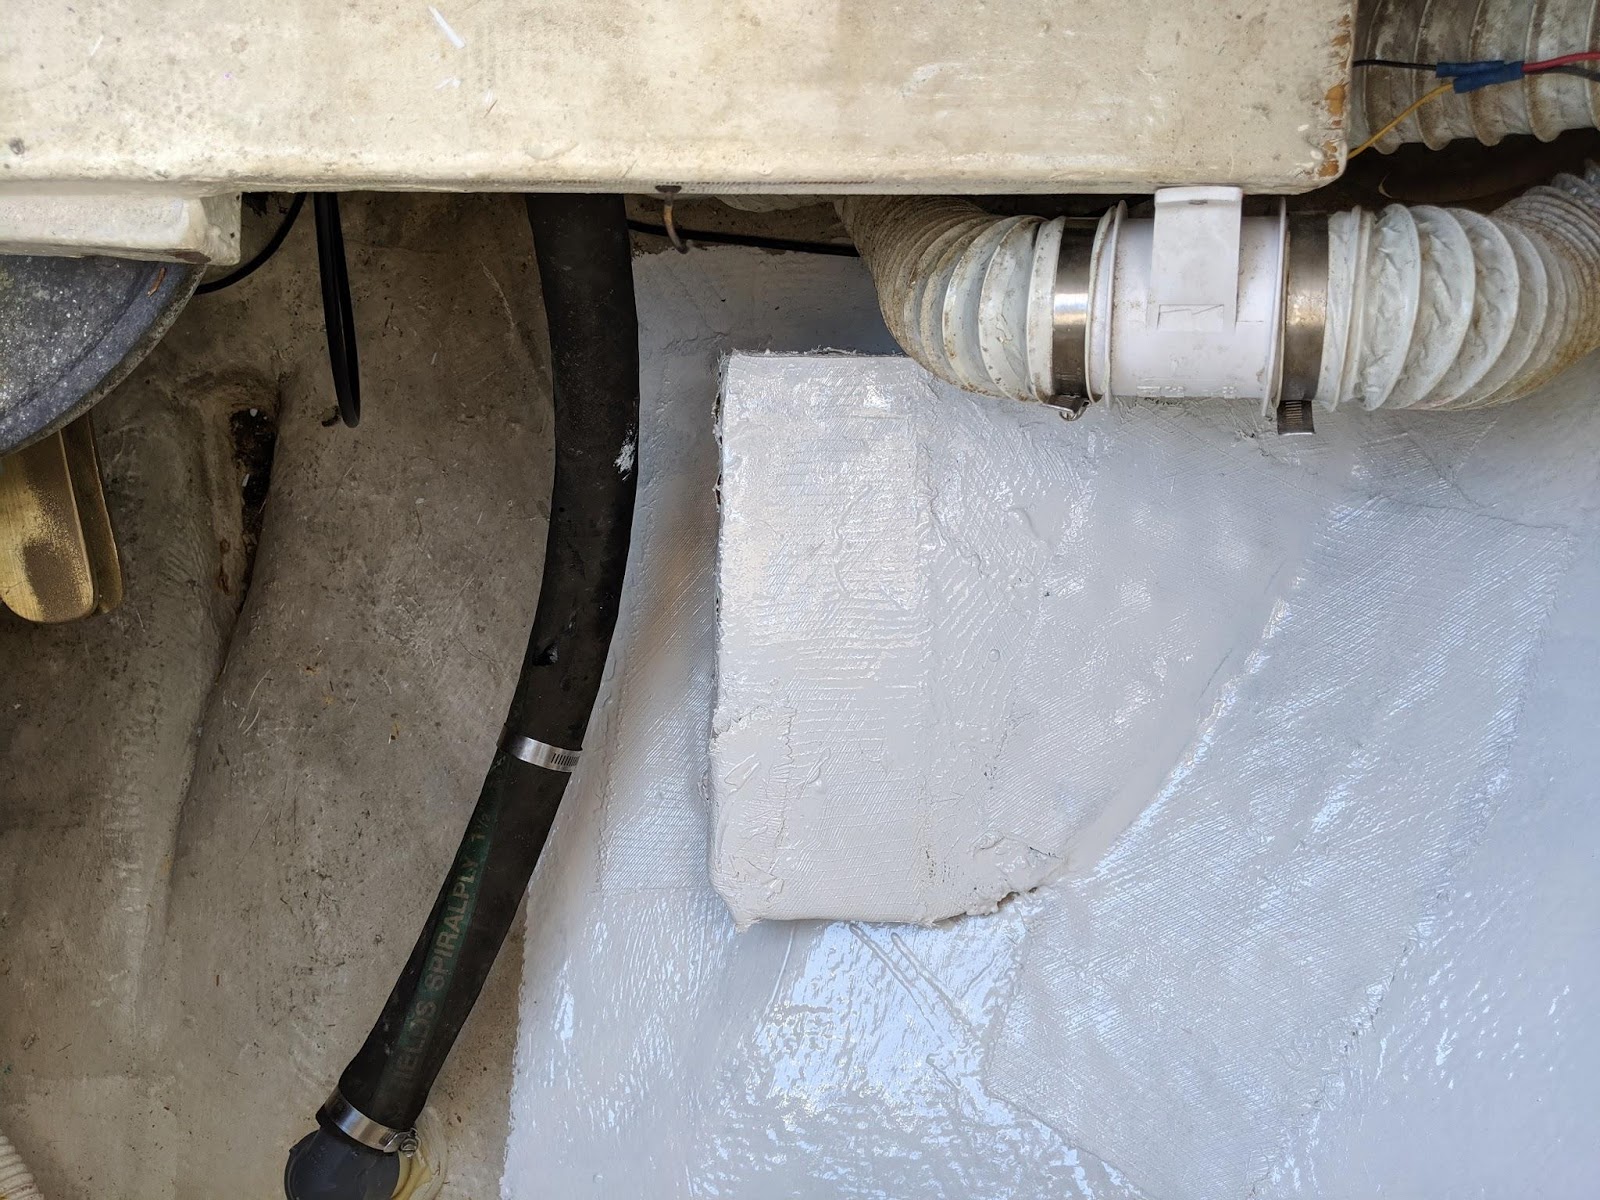
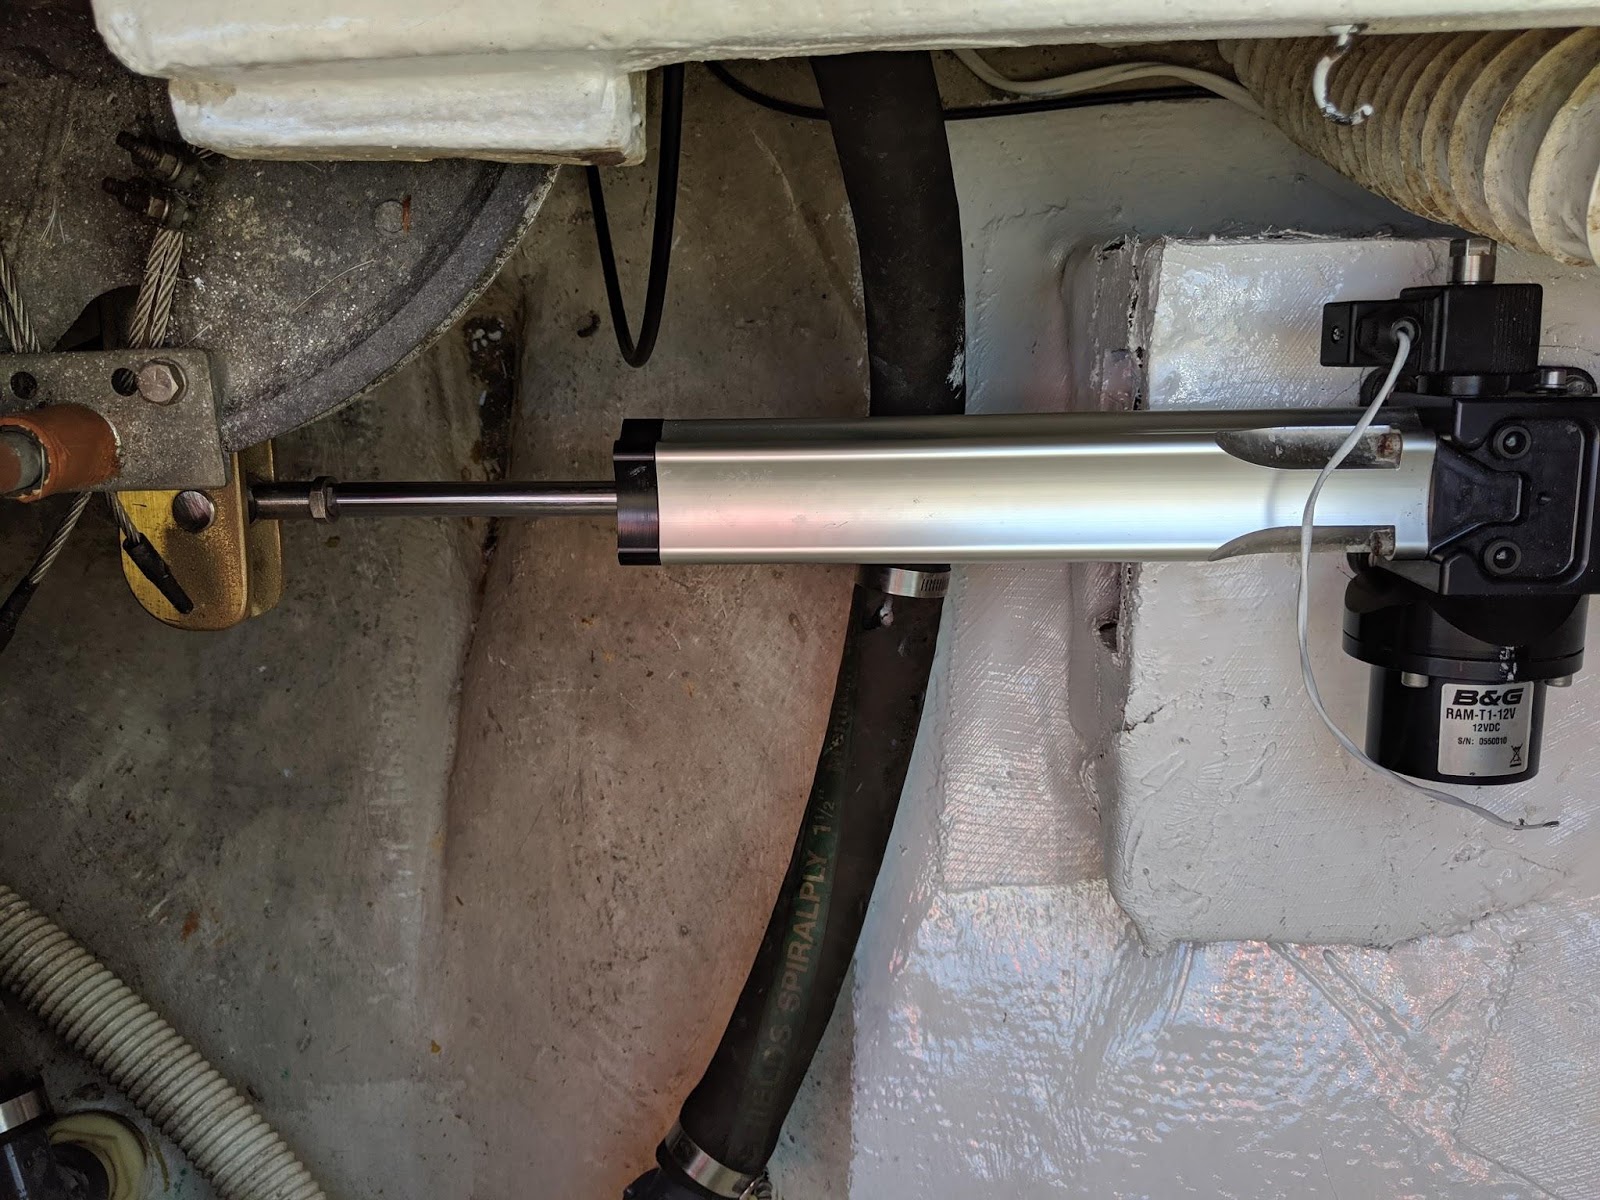
B&G T1 Ram Install
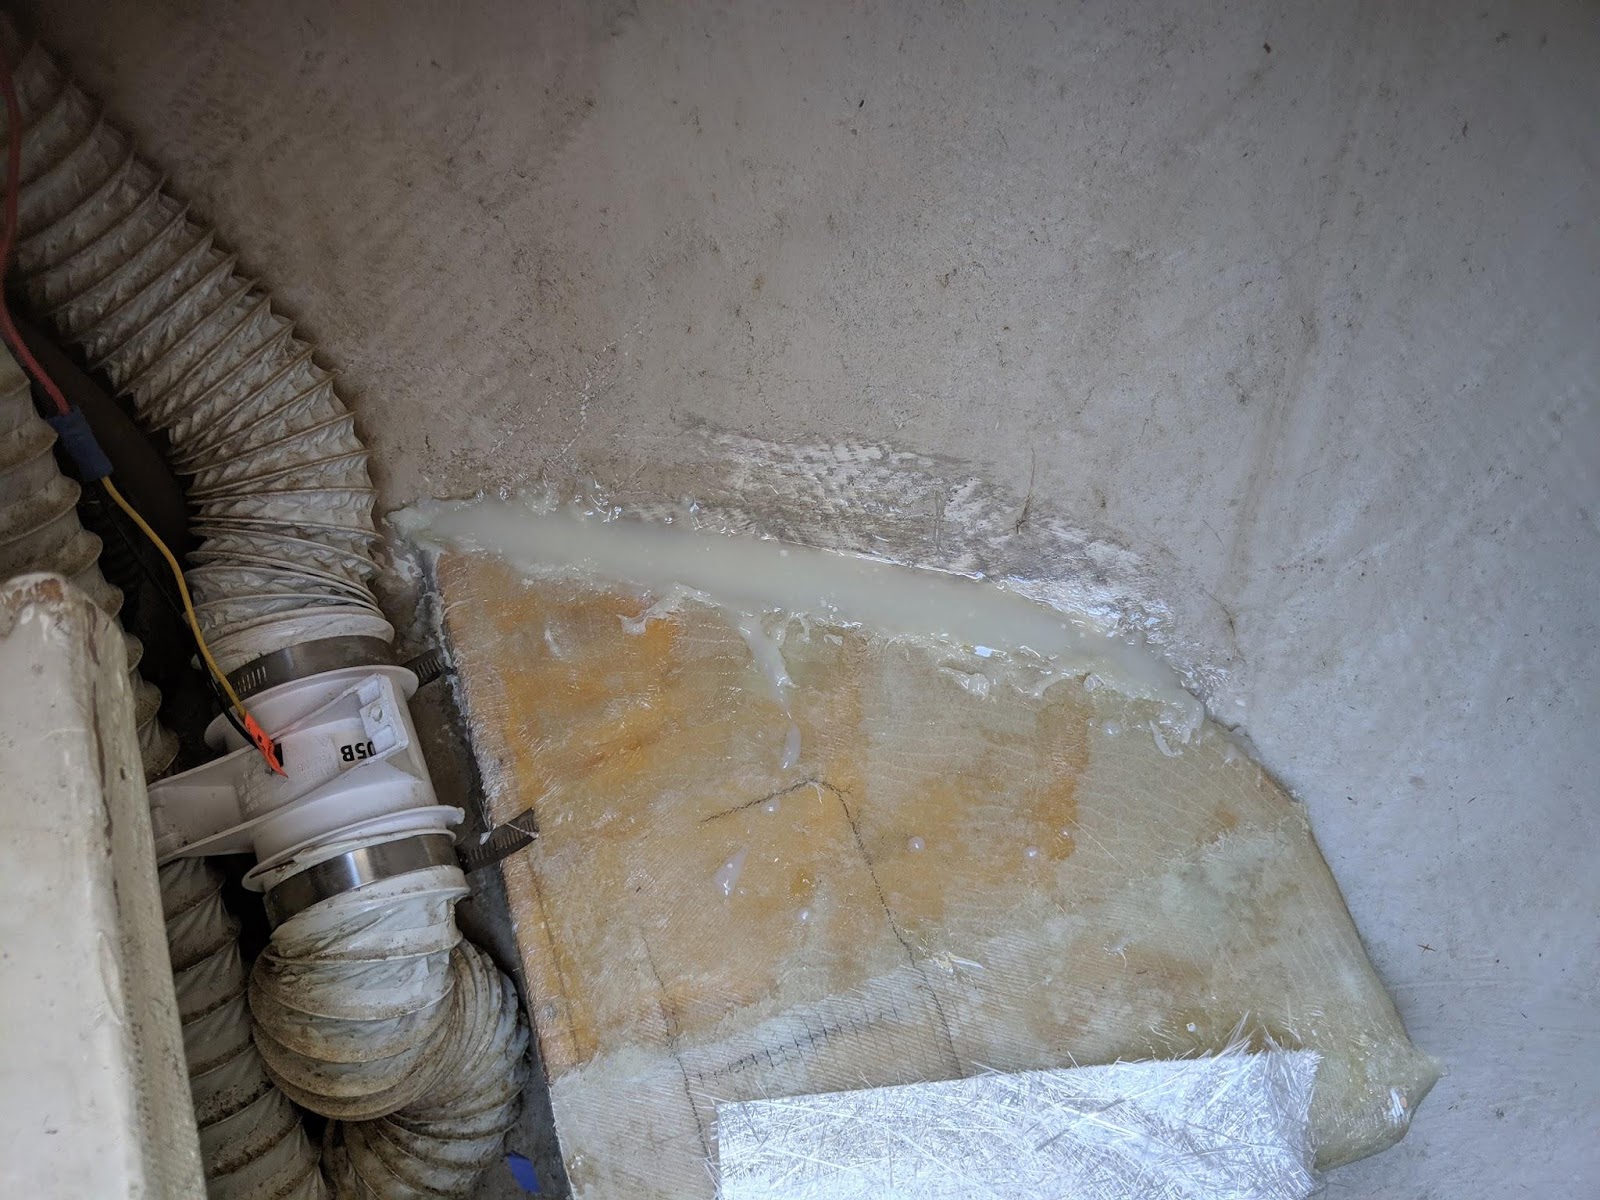
I had to build a shelf to fit the hydraulic arm:
- Plywood (Home Depot)
- Total boat epoxy: https://www.amazon.com/gp/product/B00HR8515C/ref=ppx_yo_dt_b_search_asin_title?ie=UTF8&psc=1 ($125)
- Total boat bilge paint: https://www.amazon.com/gp/product/B00LLH4UYI/ref=ppx_yo_dt_b_search_asin_title?ie=UTF8&th=1 ($30)
- Fiberglass:1708 Fiberglass 45/45 DBM Biaxial 50″ Inch Wide https://www.ebay.com/itm/222737340314 ($33)
The T1 Ram has one tip to get it off from his base, all the tools came with the setup.
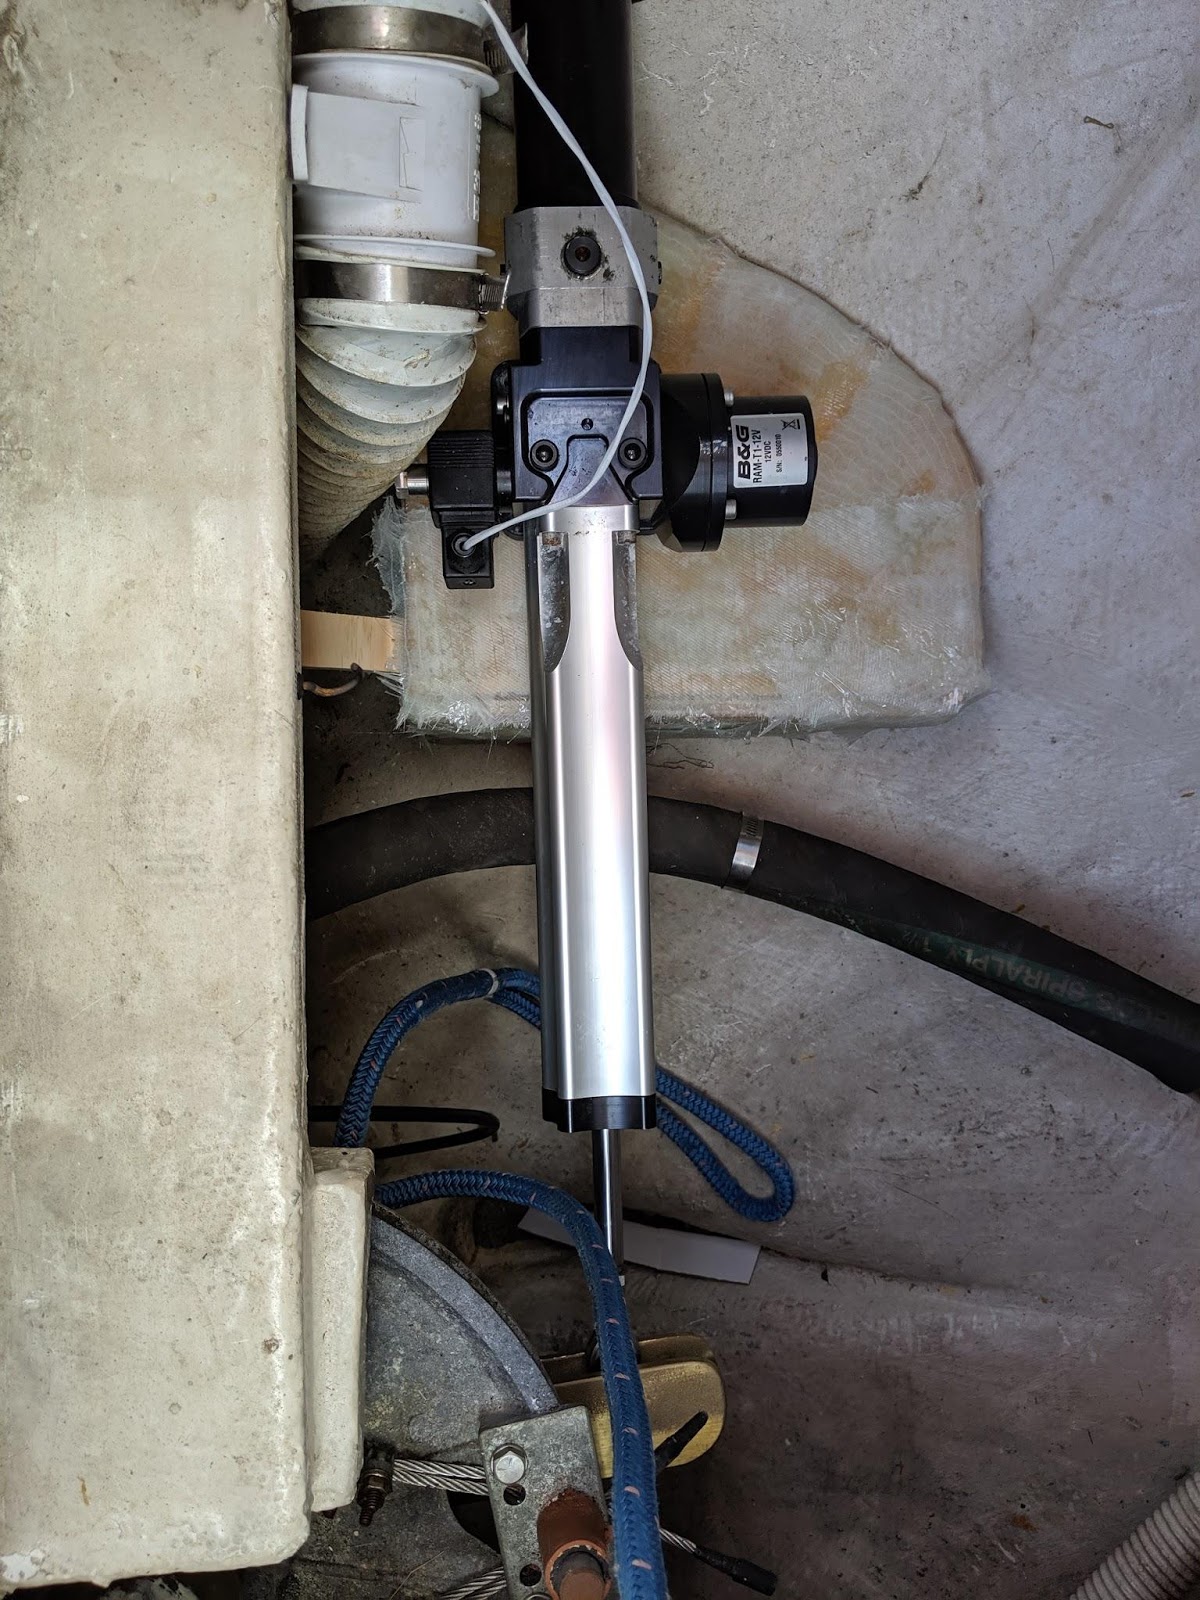
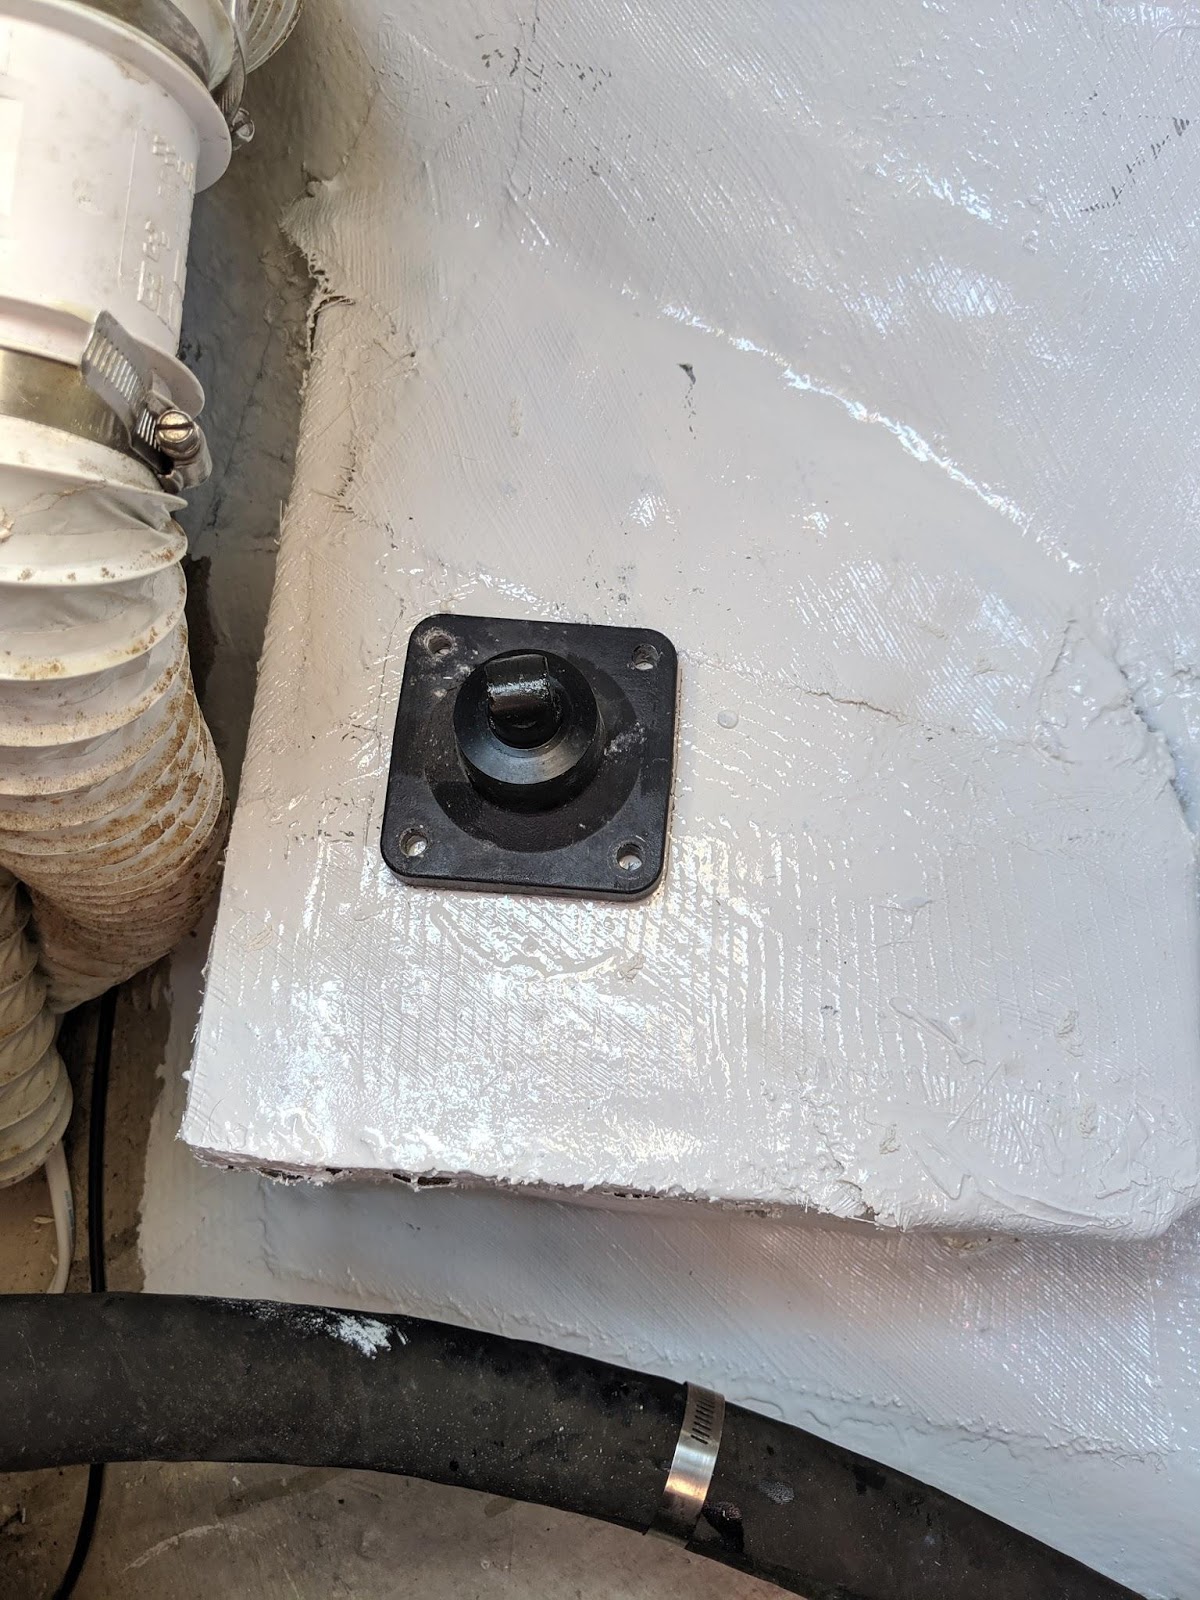

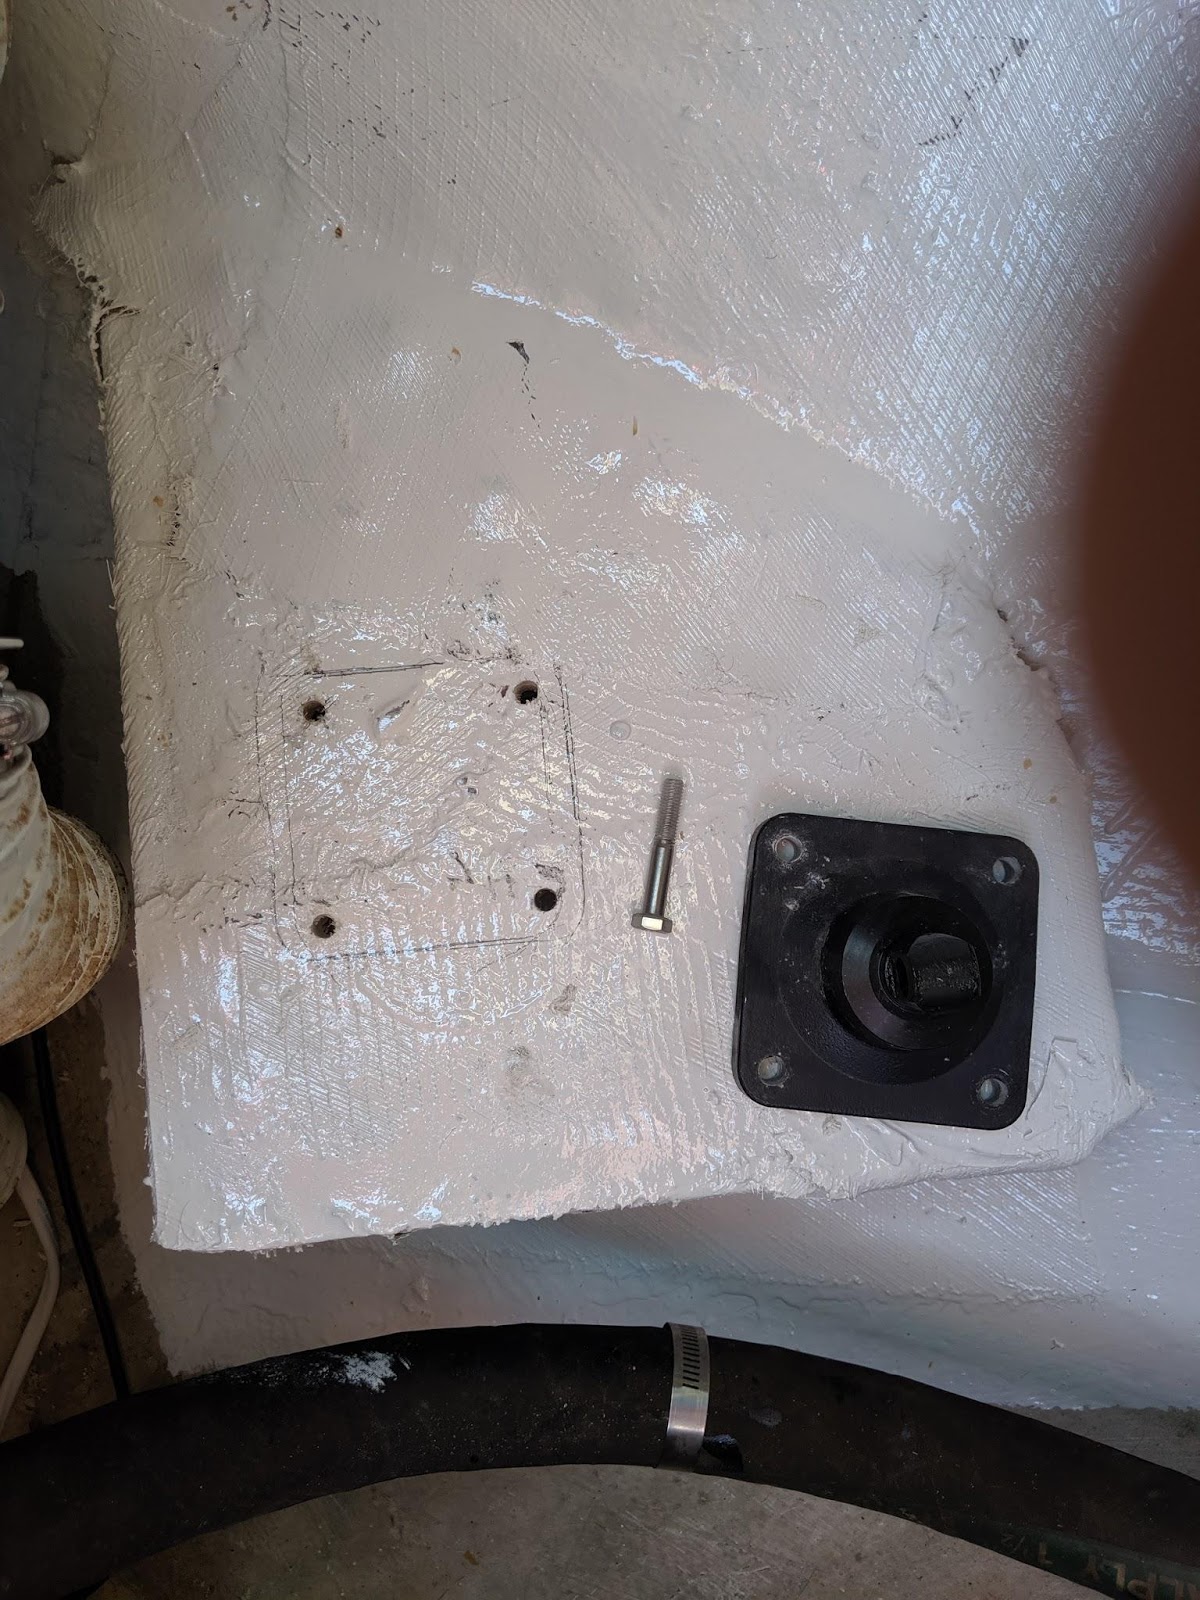
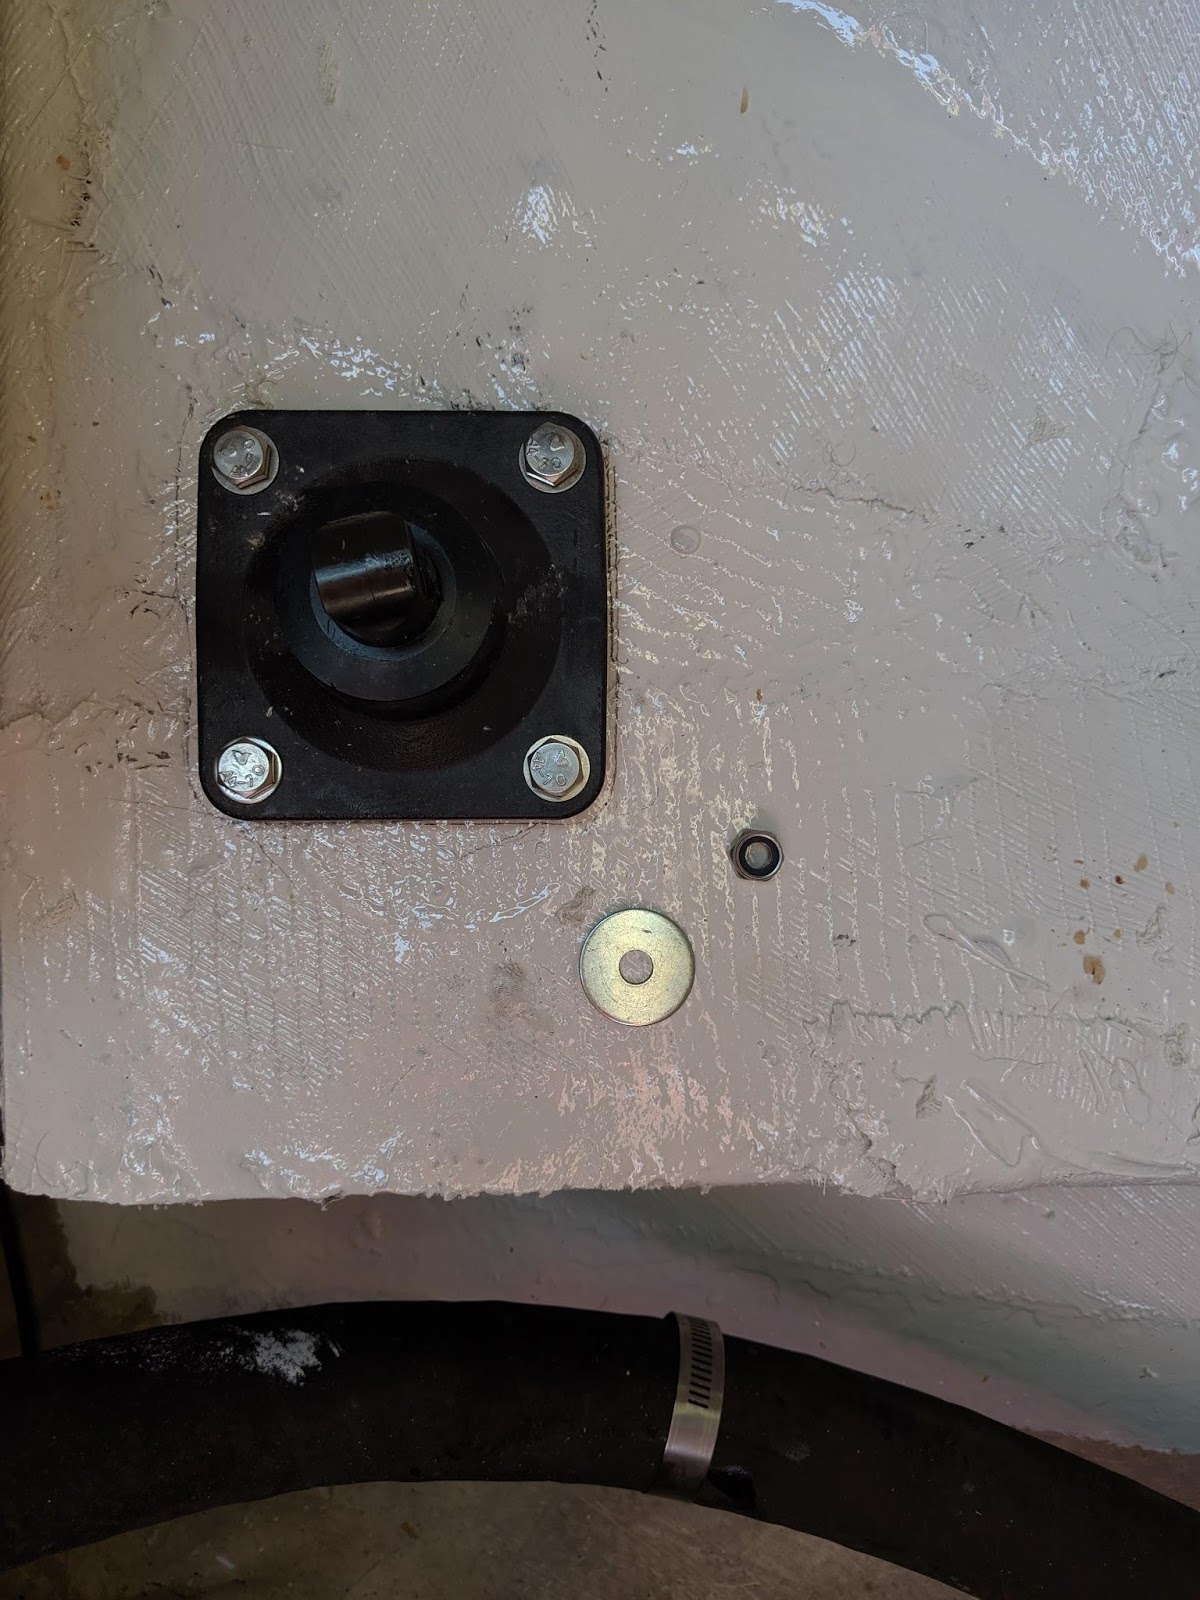

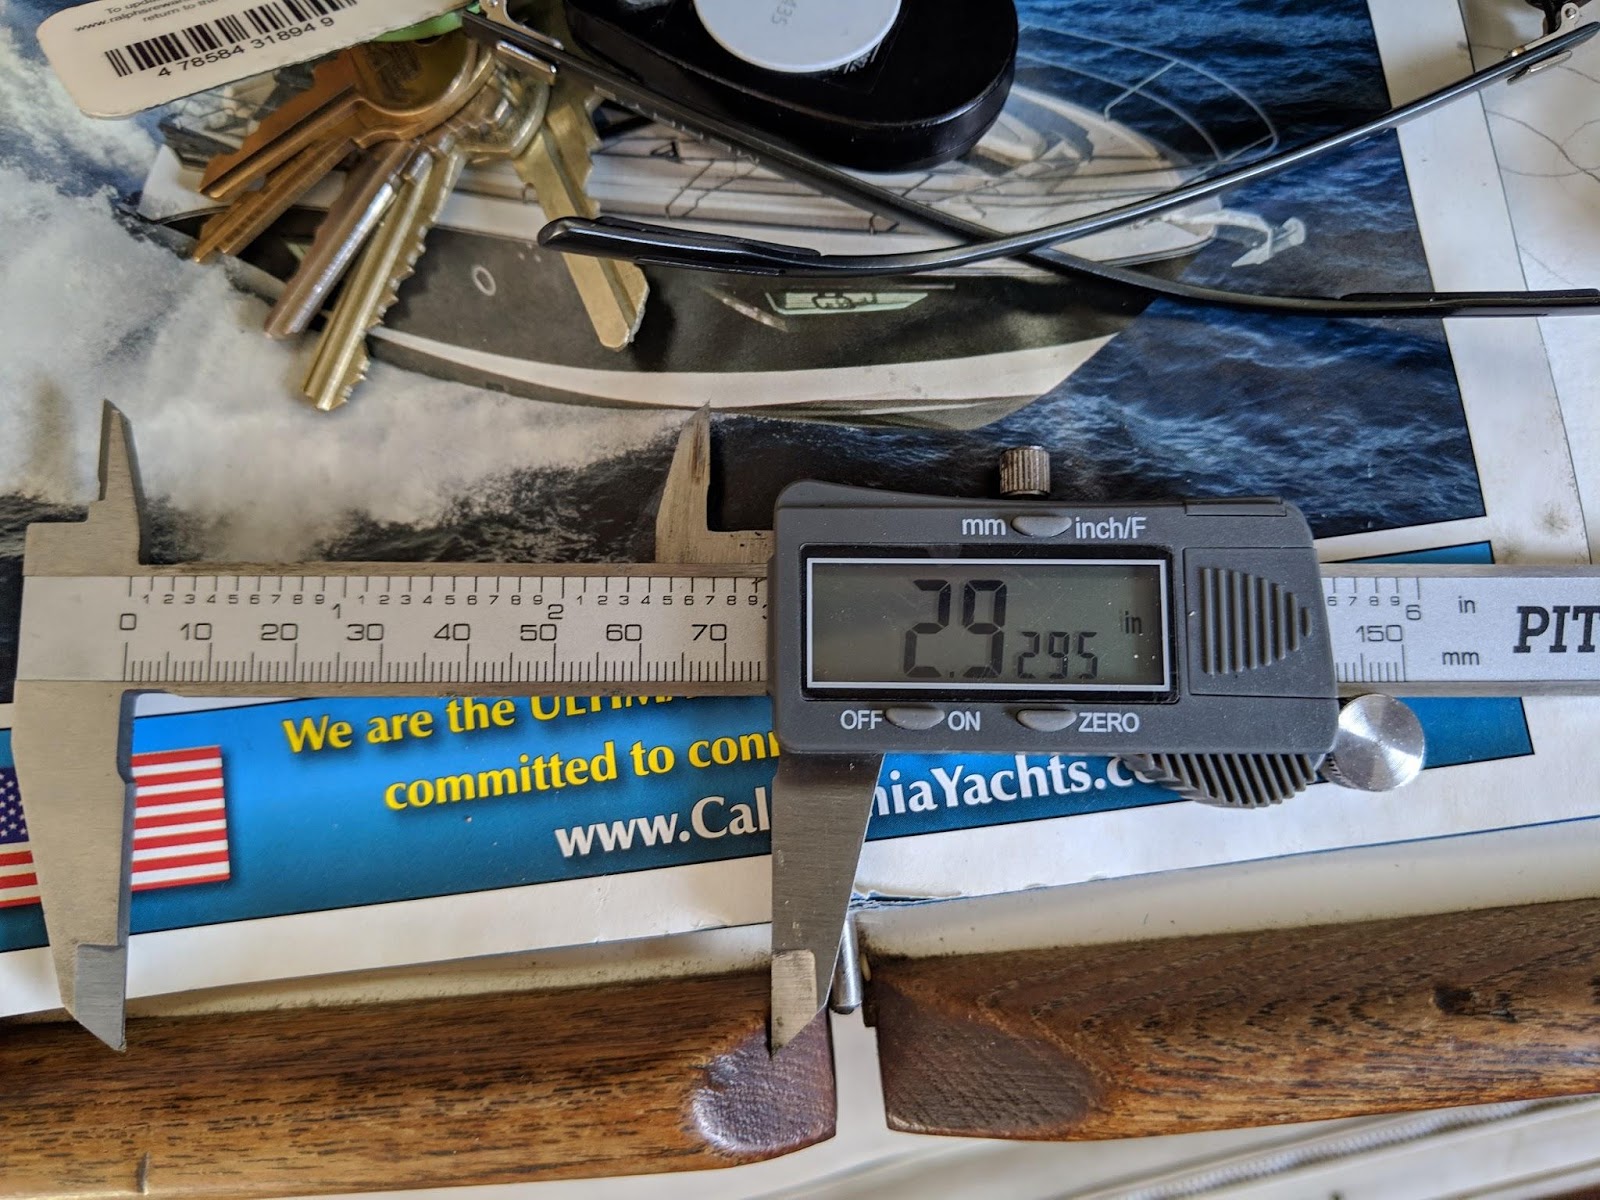
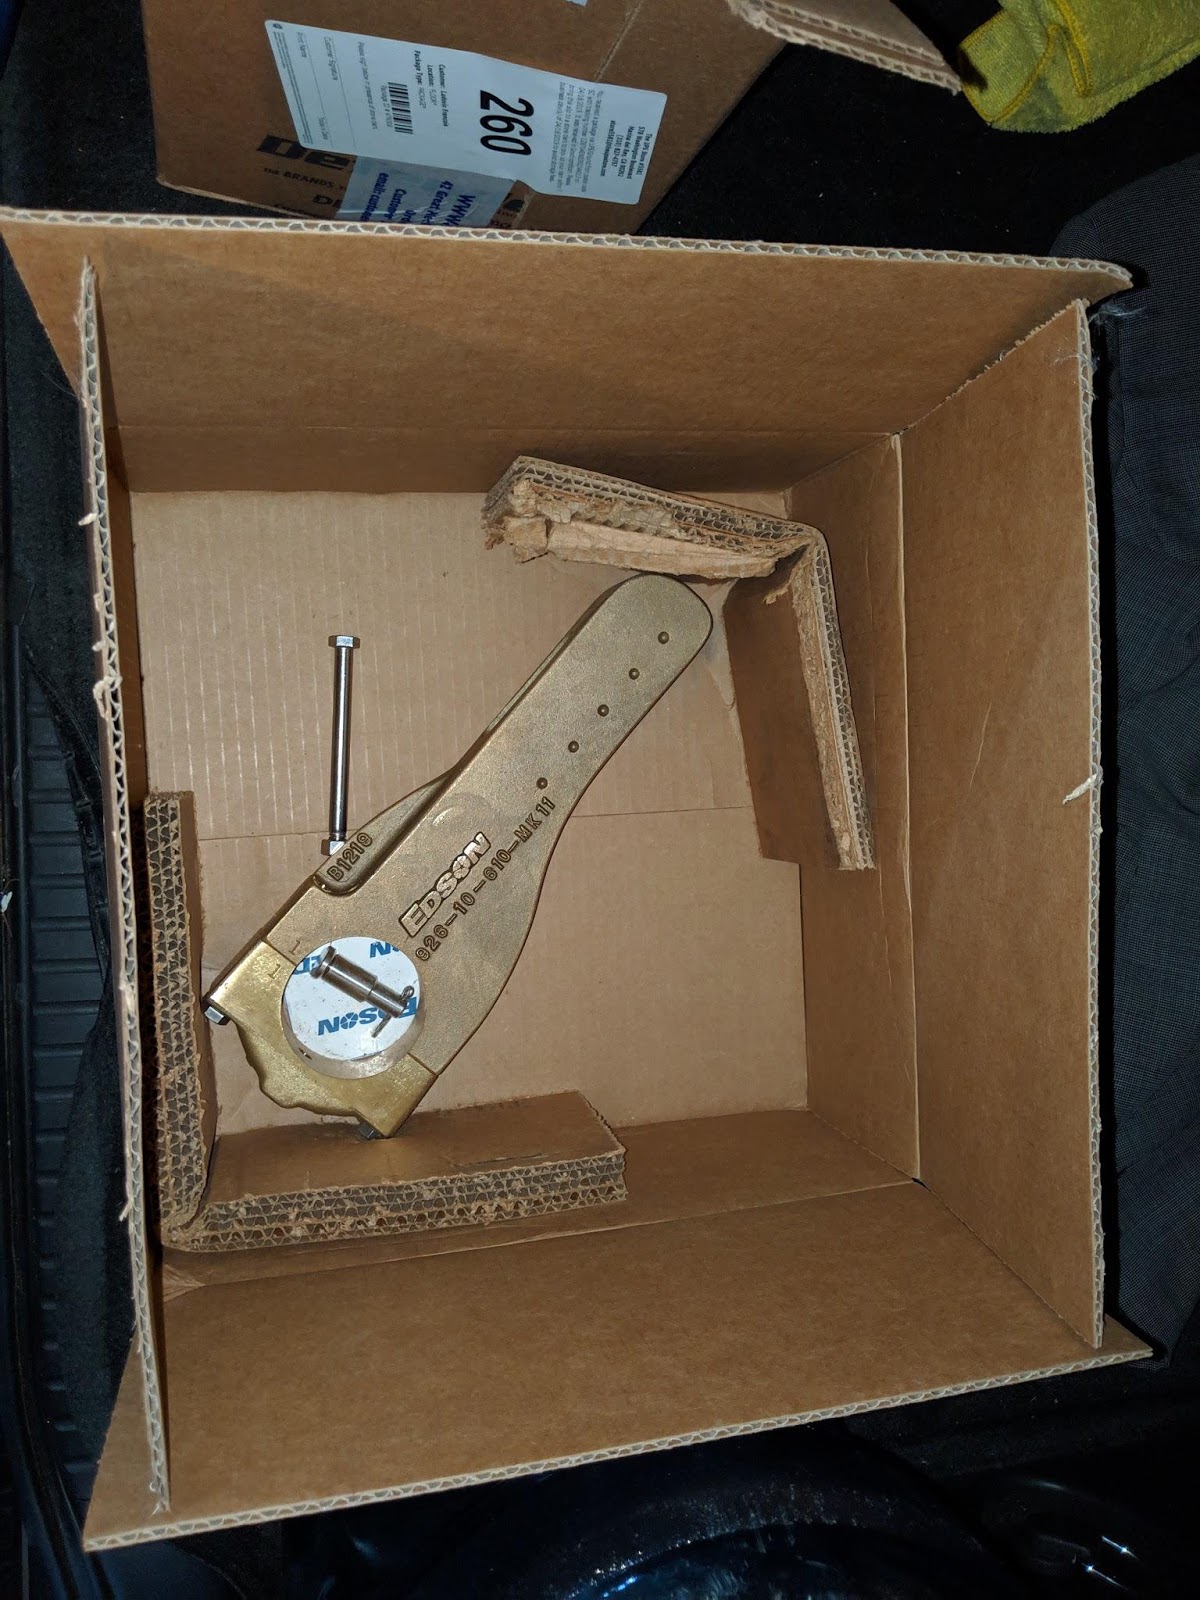
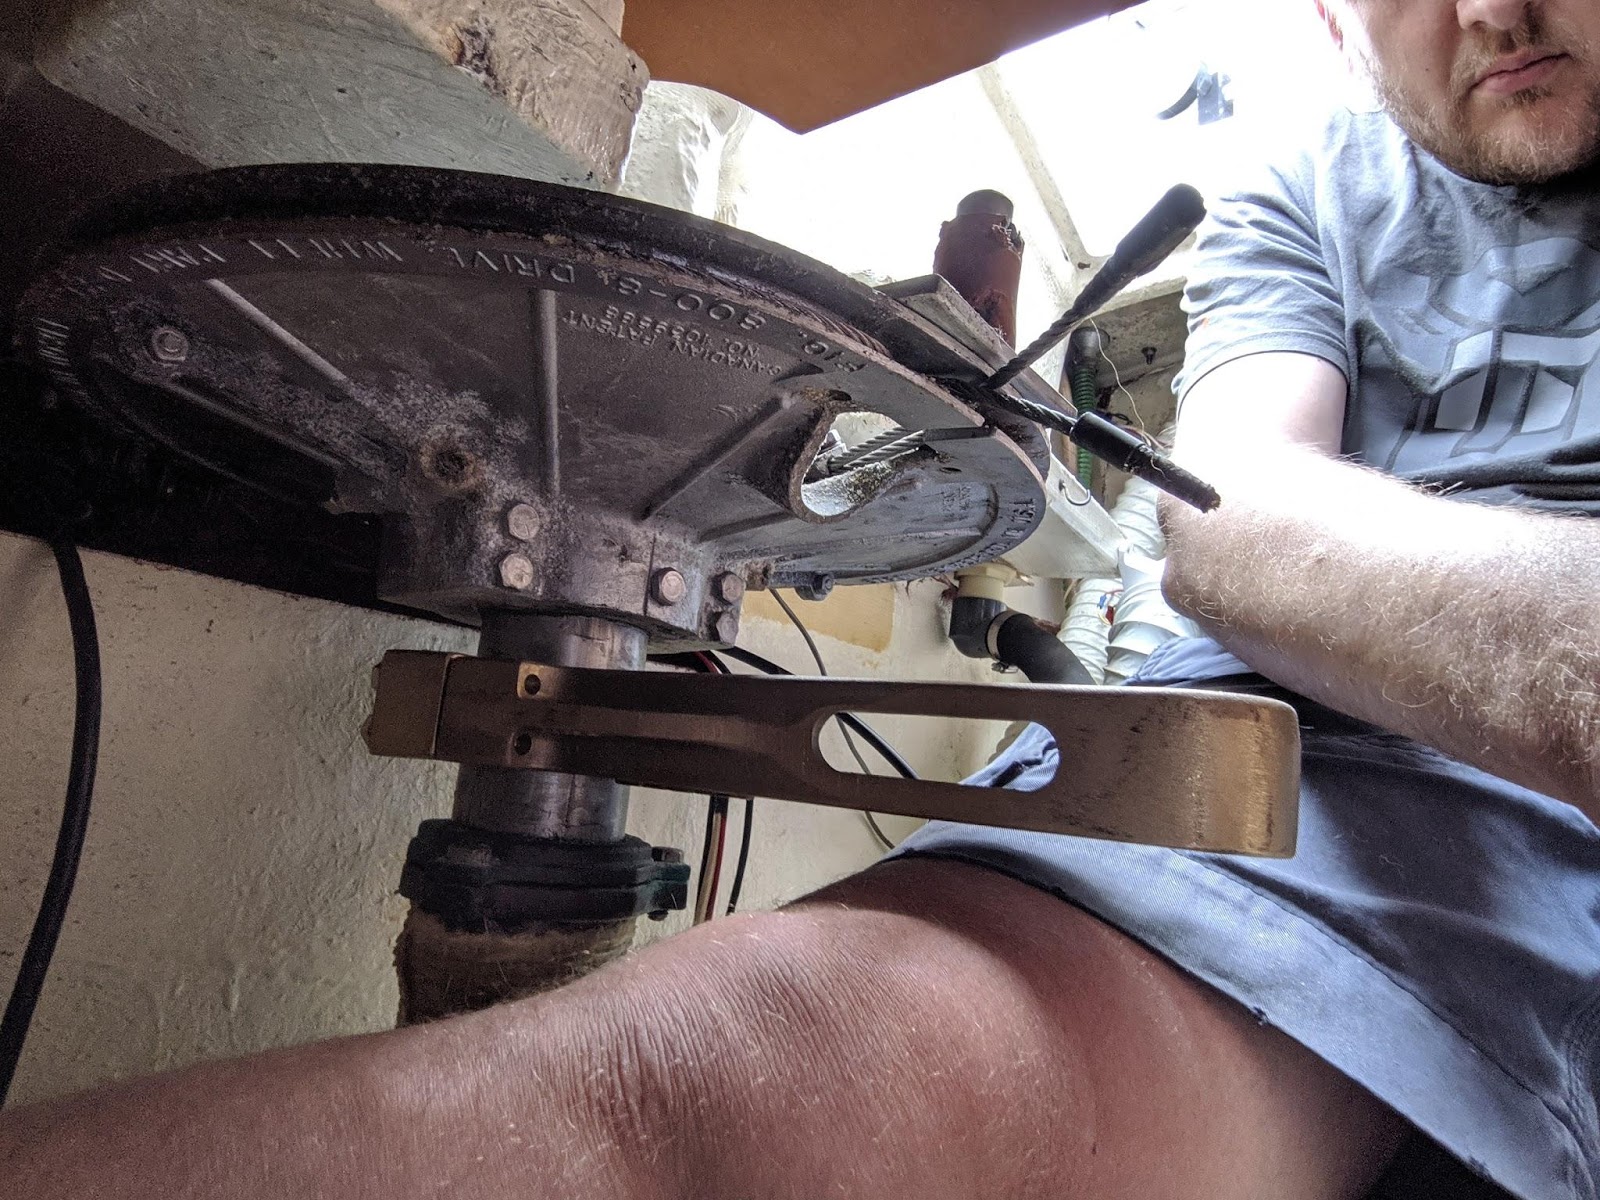
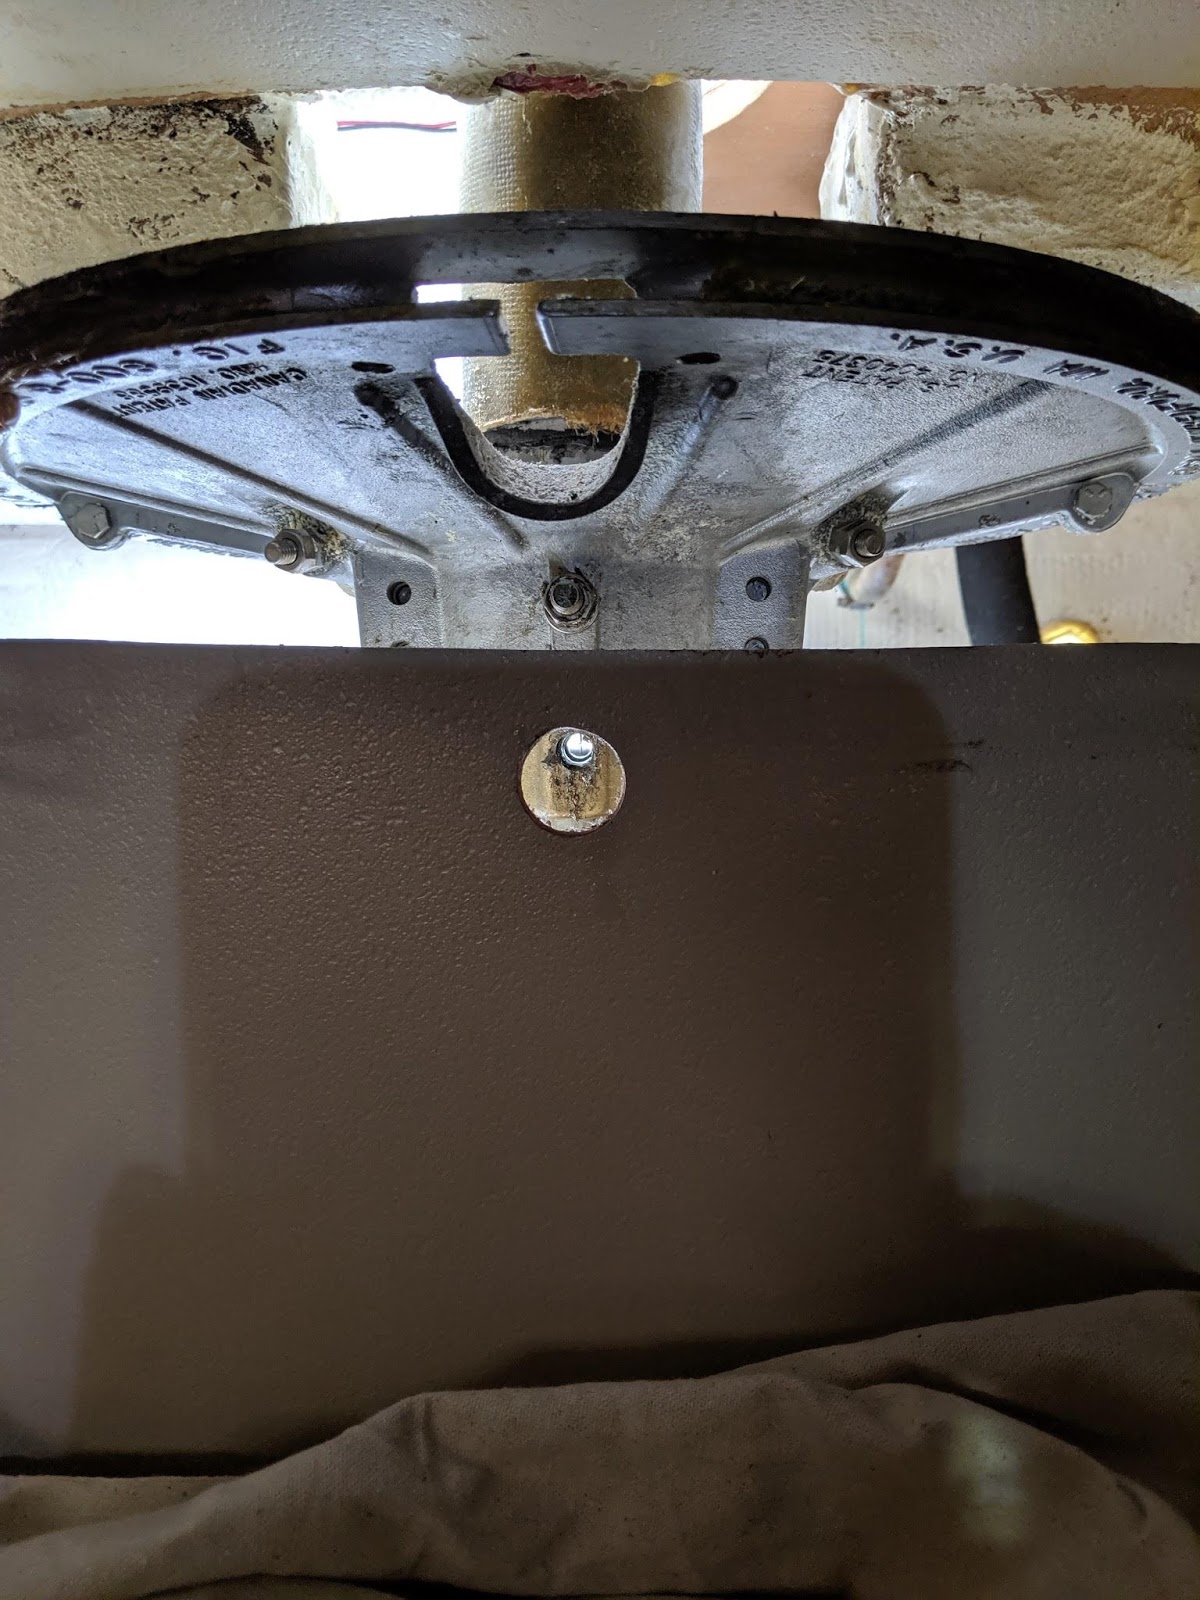
Edson Tiller Arm
This task with the build of the base for the T1 RAM were the most intimidating. This one actually was easier than expected.
Go slow to drill in the rudder post, if you ask yourself, it’s empty in the middle, so don’t worry, just be very patient, drill very slow speed and push hard at the same time.
This operation is way easier than expected.
- DEWALT DW1610 3/8-Inch by 12-Inch Extra Long Black Oxide Drill Bit – https://www.amazon.com/gp/product/B00004RGYQ/ref=ppx_yo_dt_b_search_asin_title?ie=UTF8&psc=1 ($12)


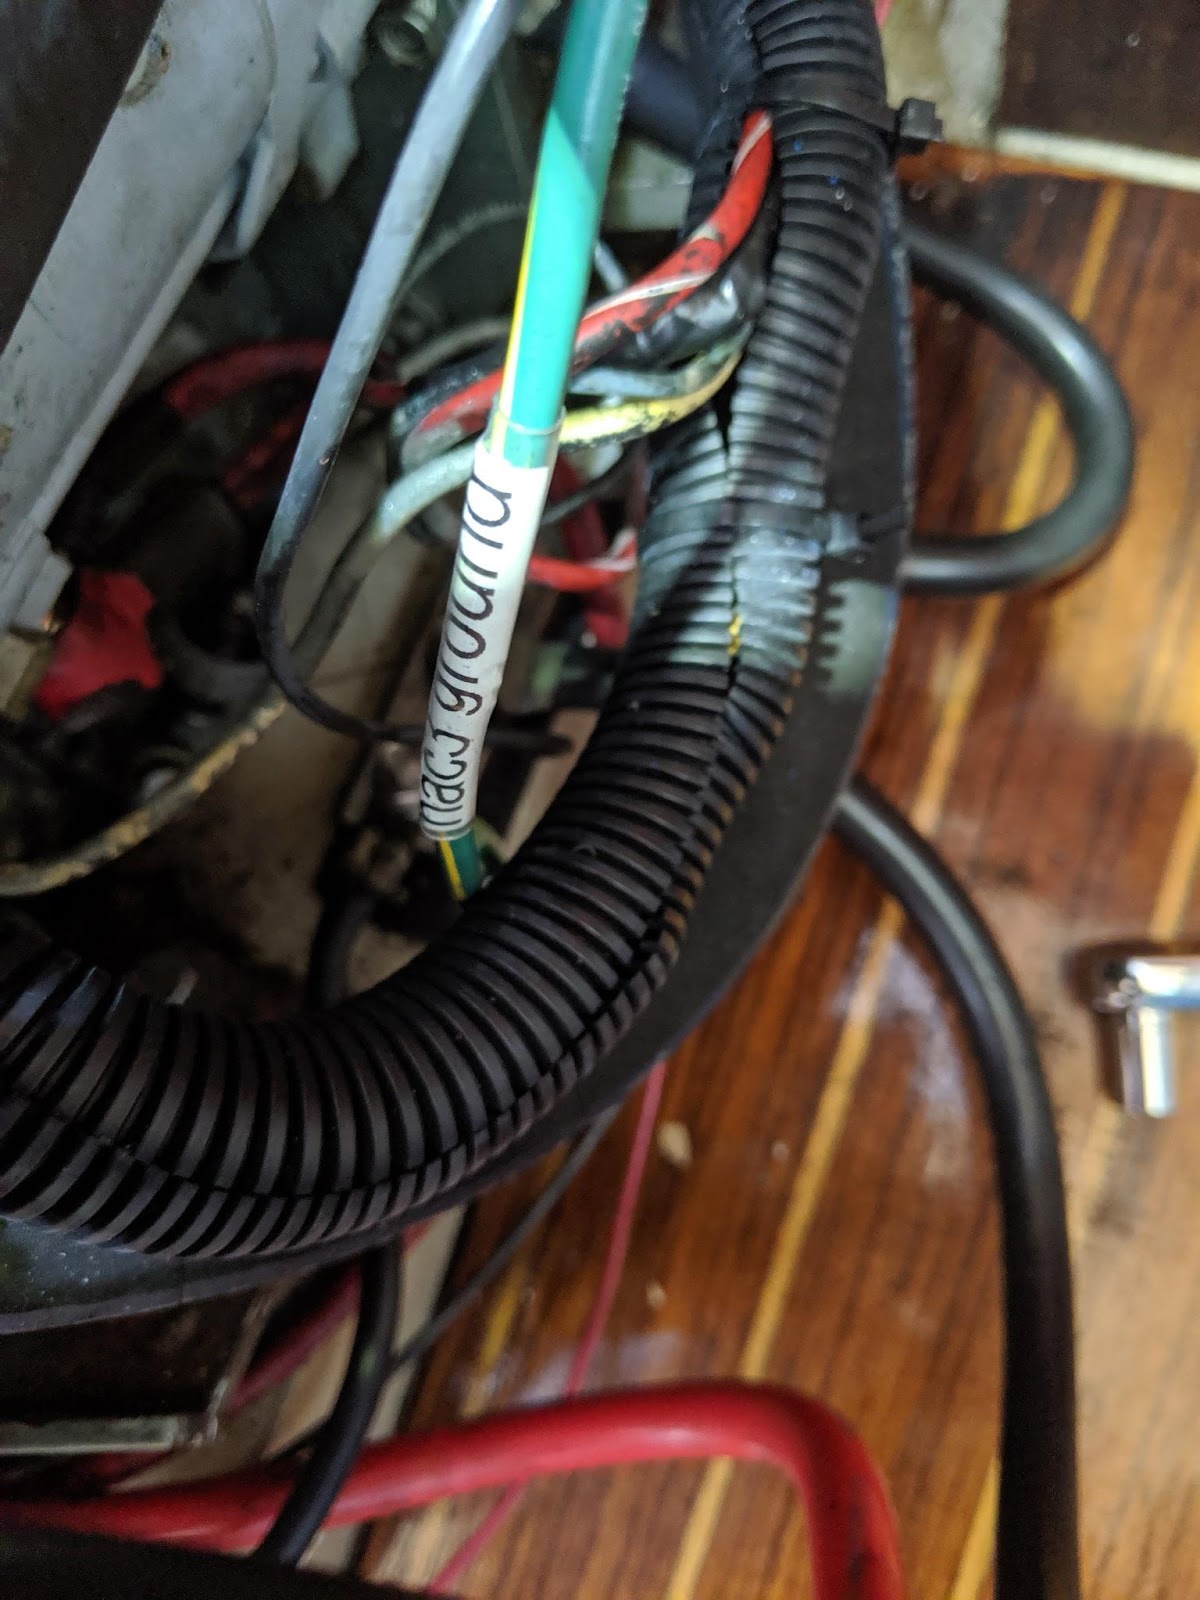
Wiring![]()
Electrical:
- Most of the power wires were concentrated from the DC panel to the NAC-3
NMEA2000:
- The NMEA2000 network connection were concentrated in 3 points around the backbone:
- Navigation Desk:
- Bluetooth remote
- Zeus 2
- Galley: Precision 9
- Aft Water Tank:
- NAC-3
- Rudder Sensor
- Helm:
- Autopilot Controller
- Triton 2
- Navigation Desk:
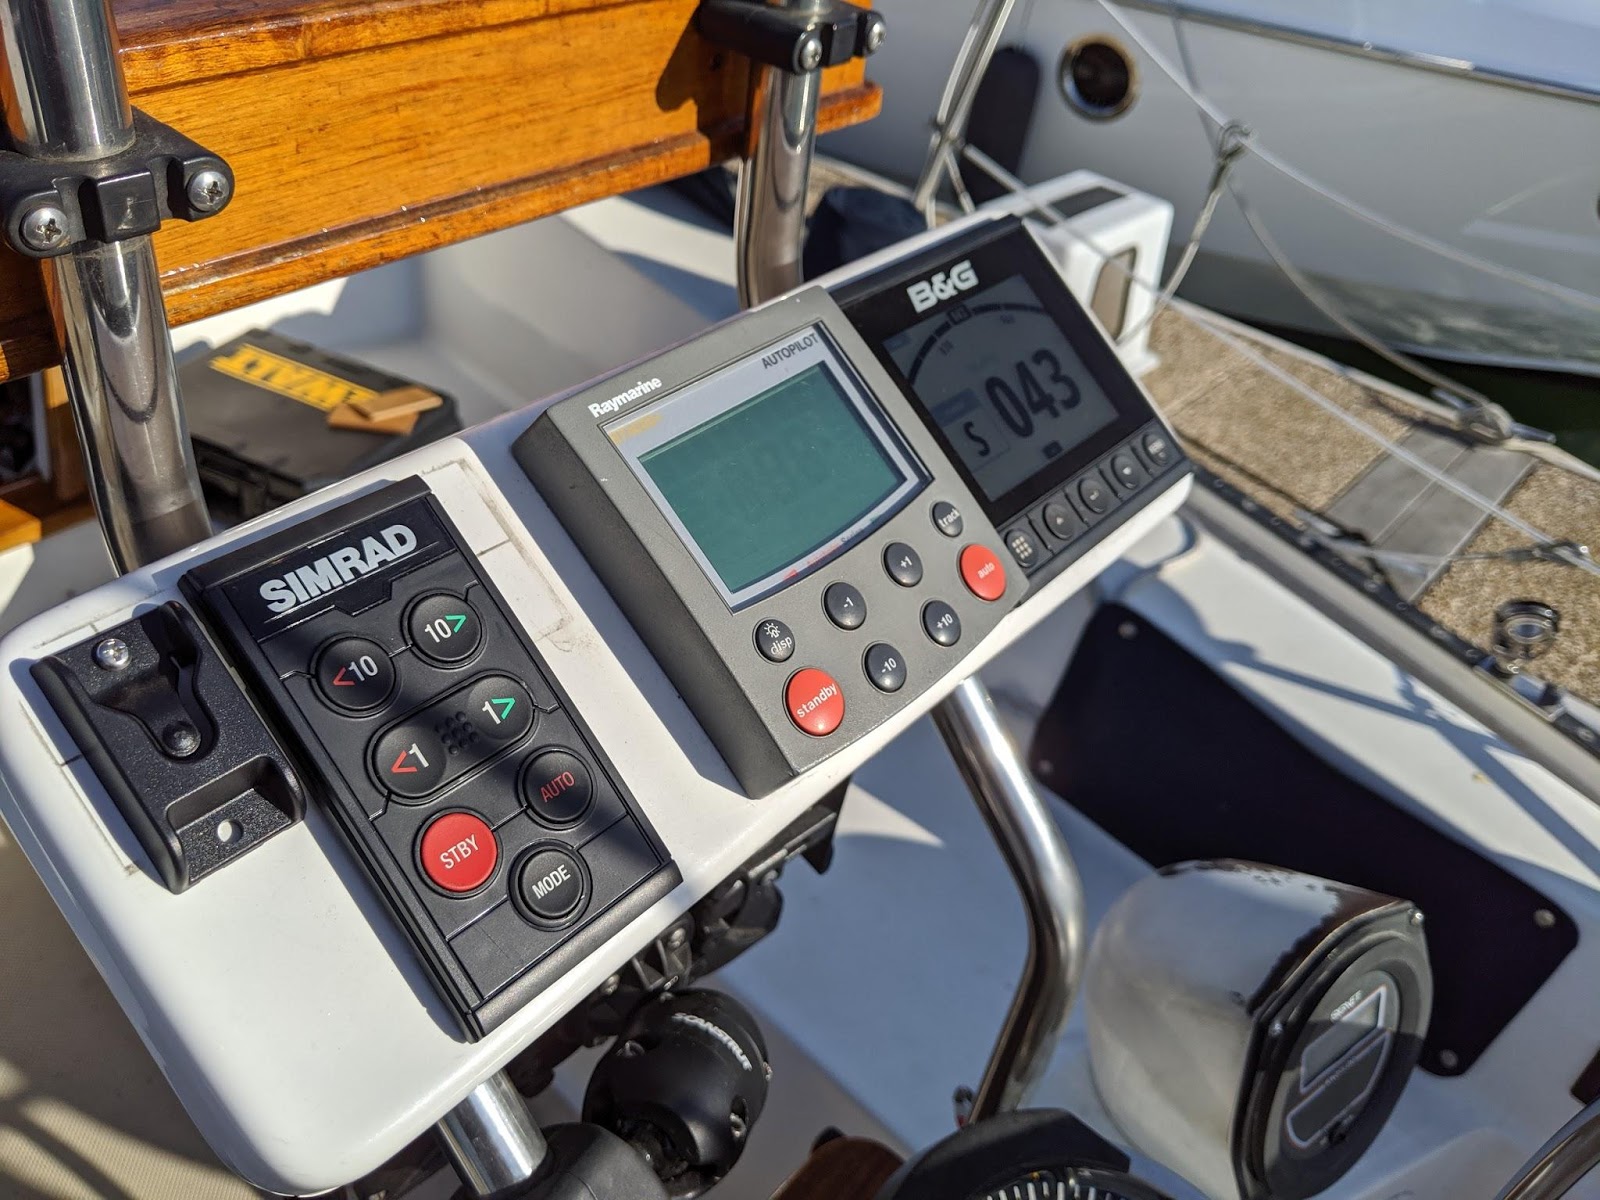
Autopilot Controller
Trying to reuse my old navpod to fit the controller there. Very good support from B&G again to ship me a bezel.
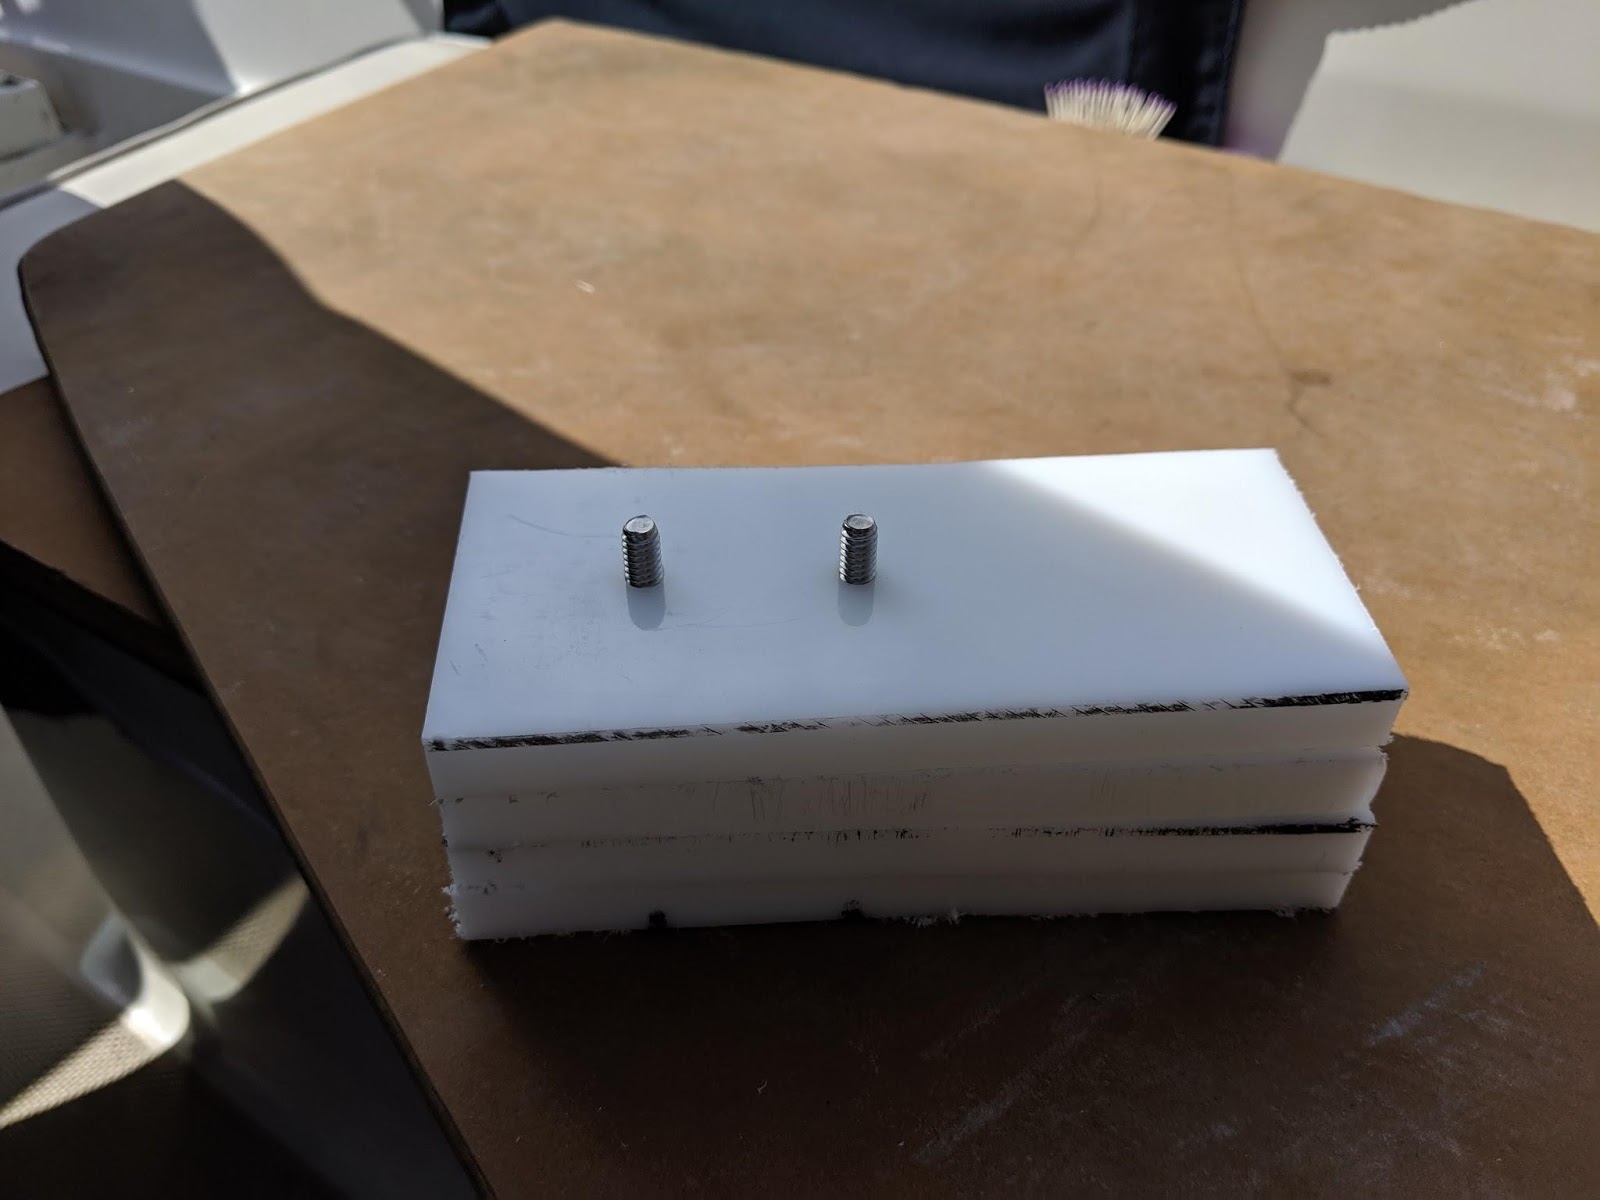
B&G RF25N rudder sensor
- Rudder Sensor base: HDPE 1/8″ https://www.amazon.com/gp/product/B000ILG0TQ/ref=ppx_yo_dt_b_asin_title_o05_s00?ie=UTF8&psc=1 ($13.38)
- Rudder Stopper: HDPE 1/2″ HDPE (High Density Polyethylene) Sheet, Opaque Off-White, Standard Tolerance, ASTM D4976-245, 0.500″ Thickness, 12″ Width, 24″ Length ($18.54)
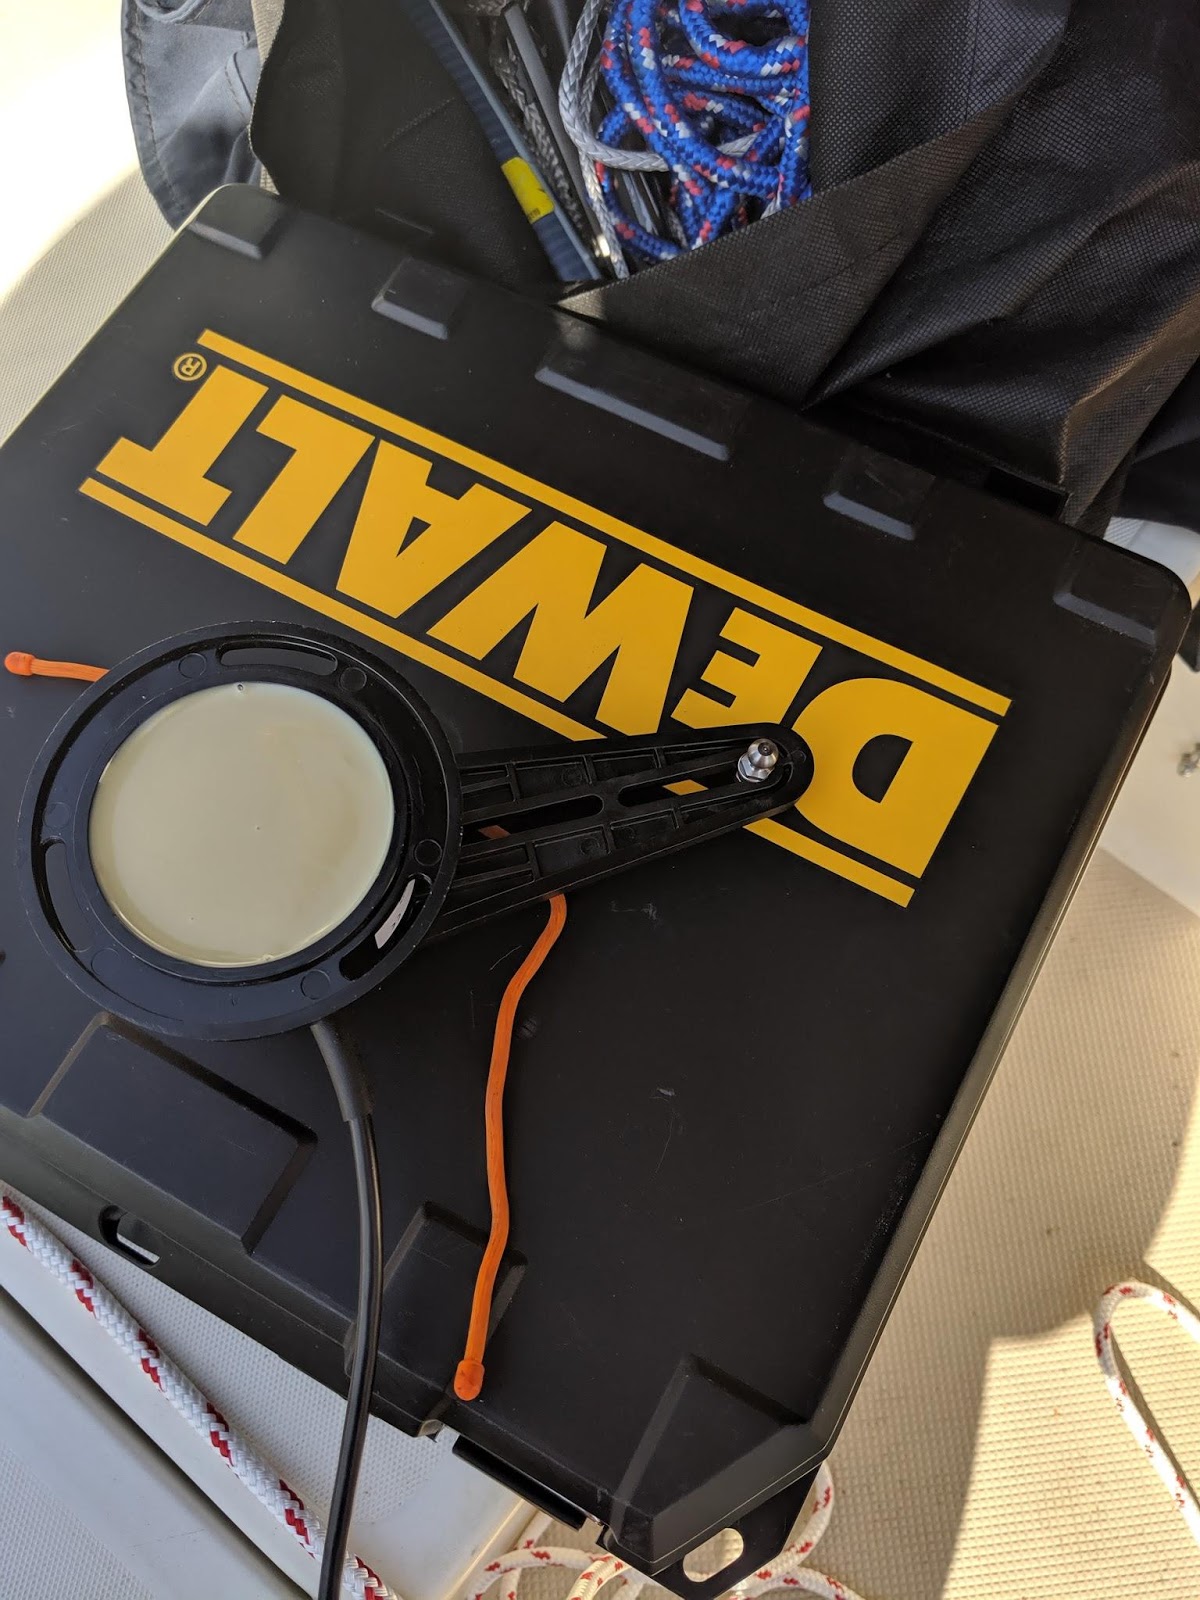
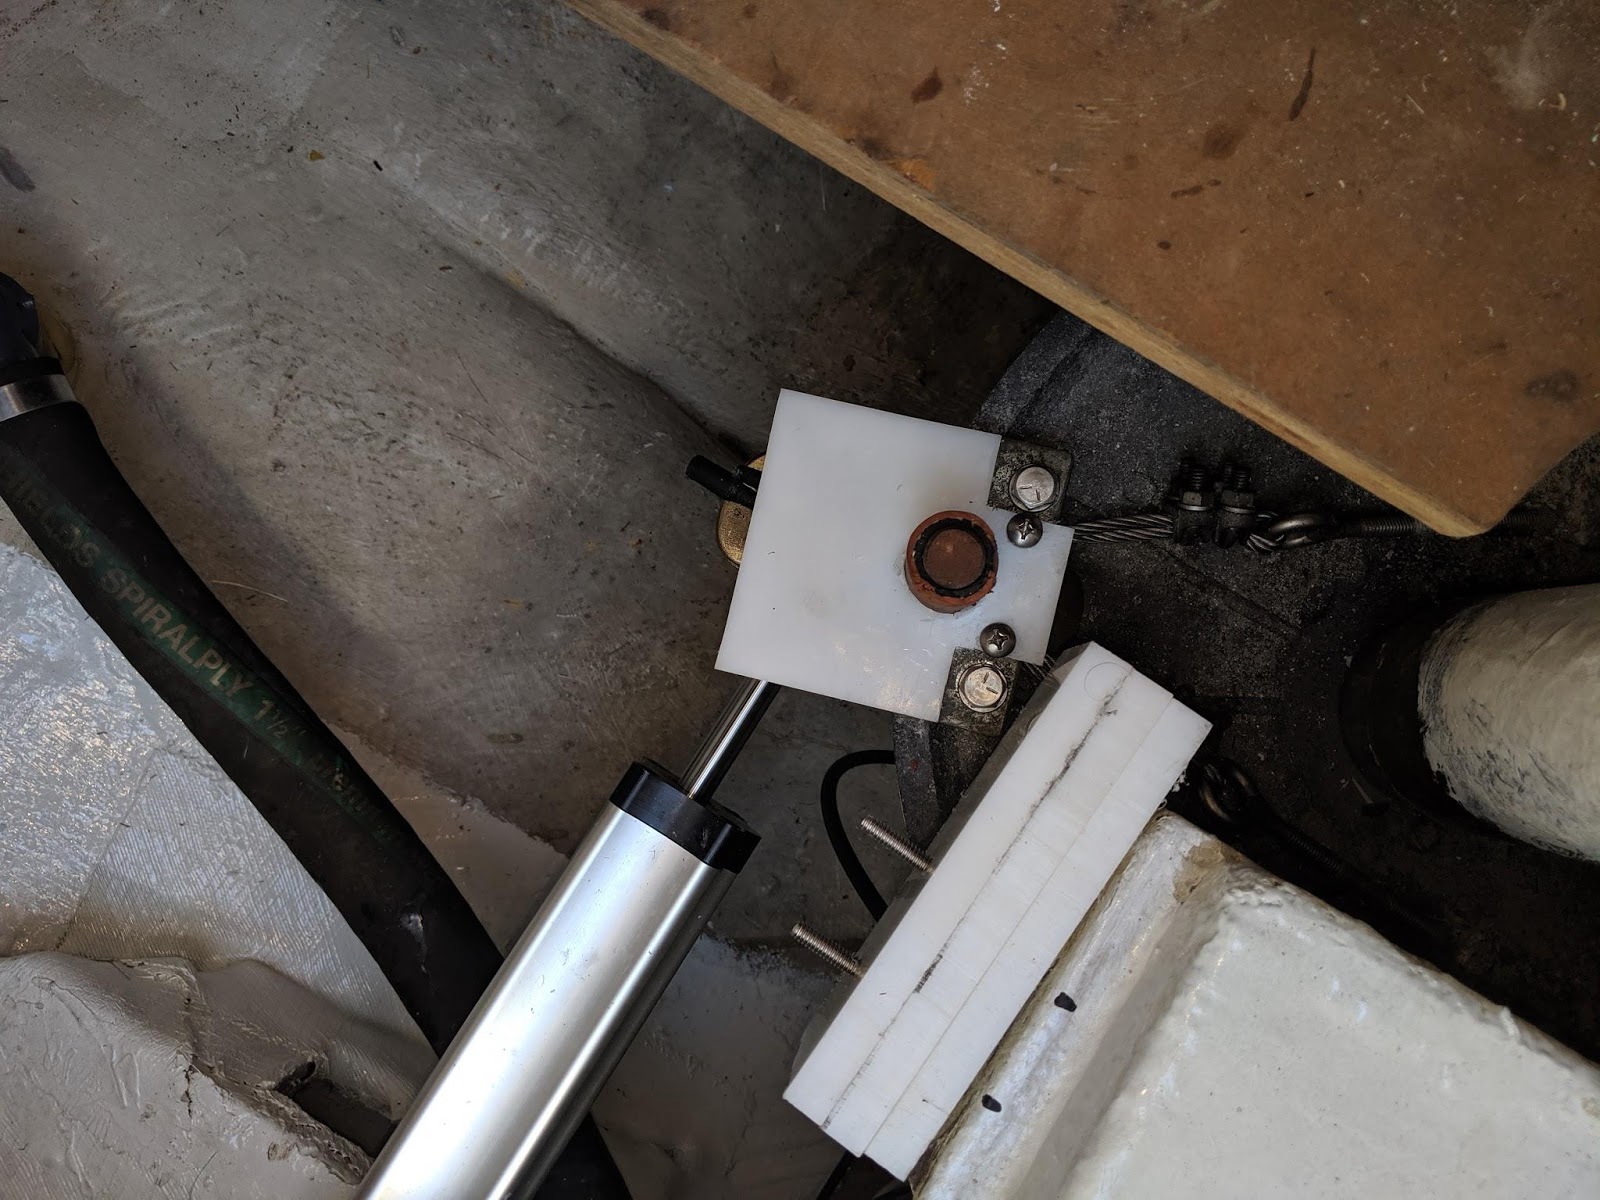
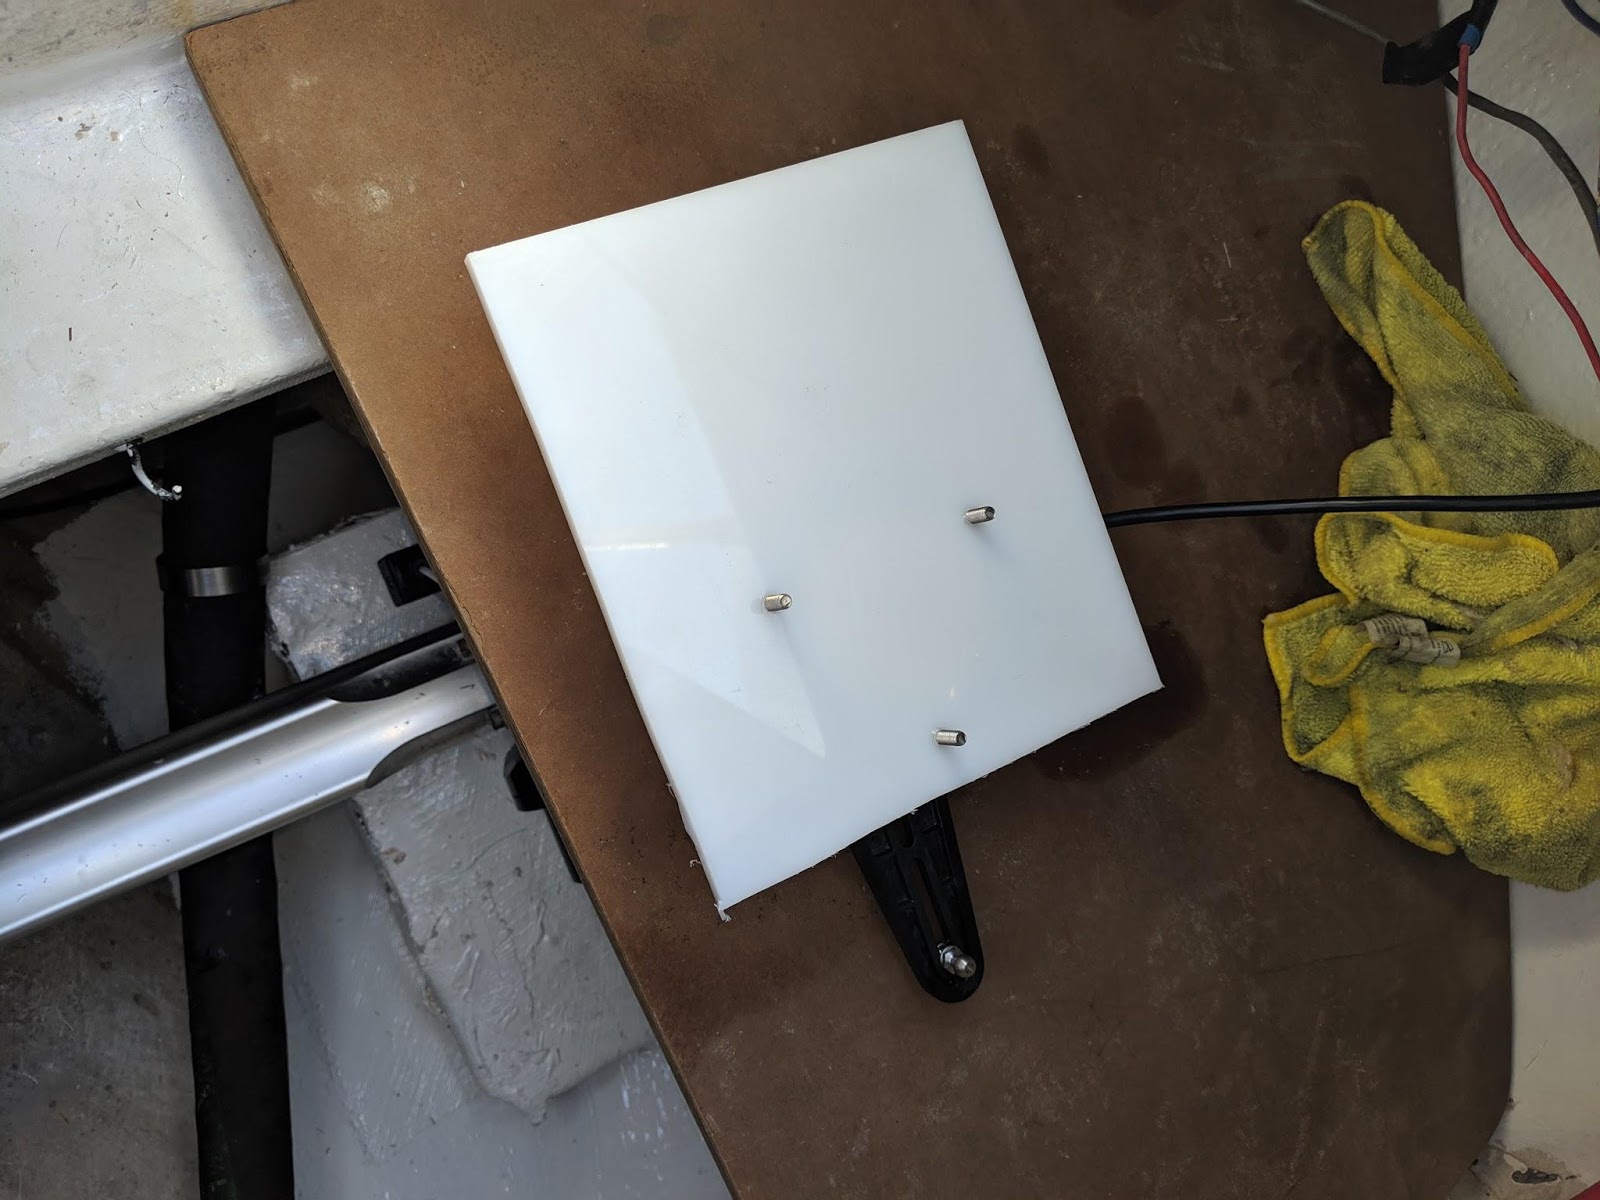
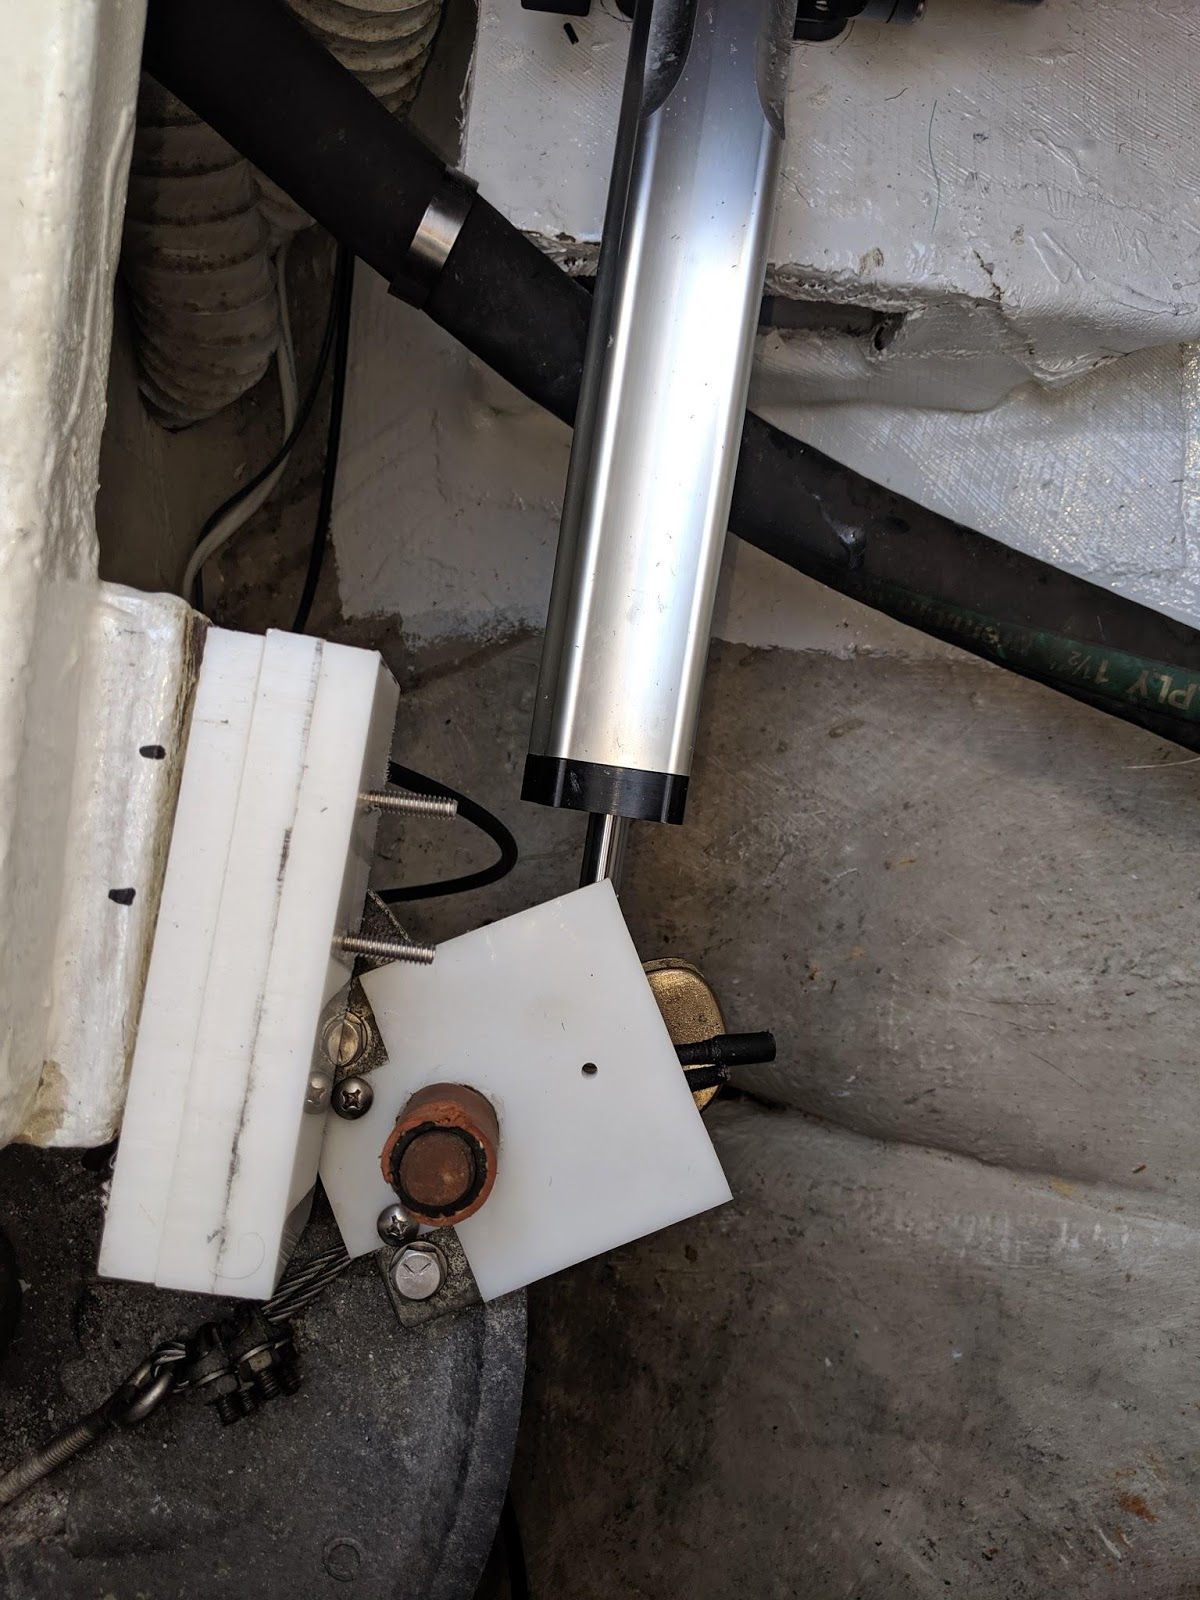
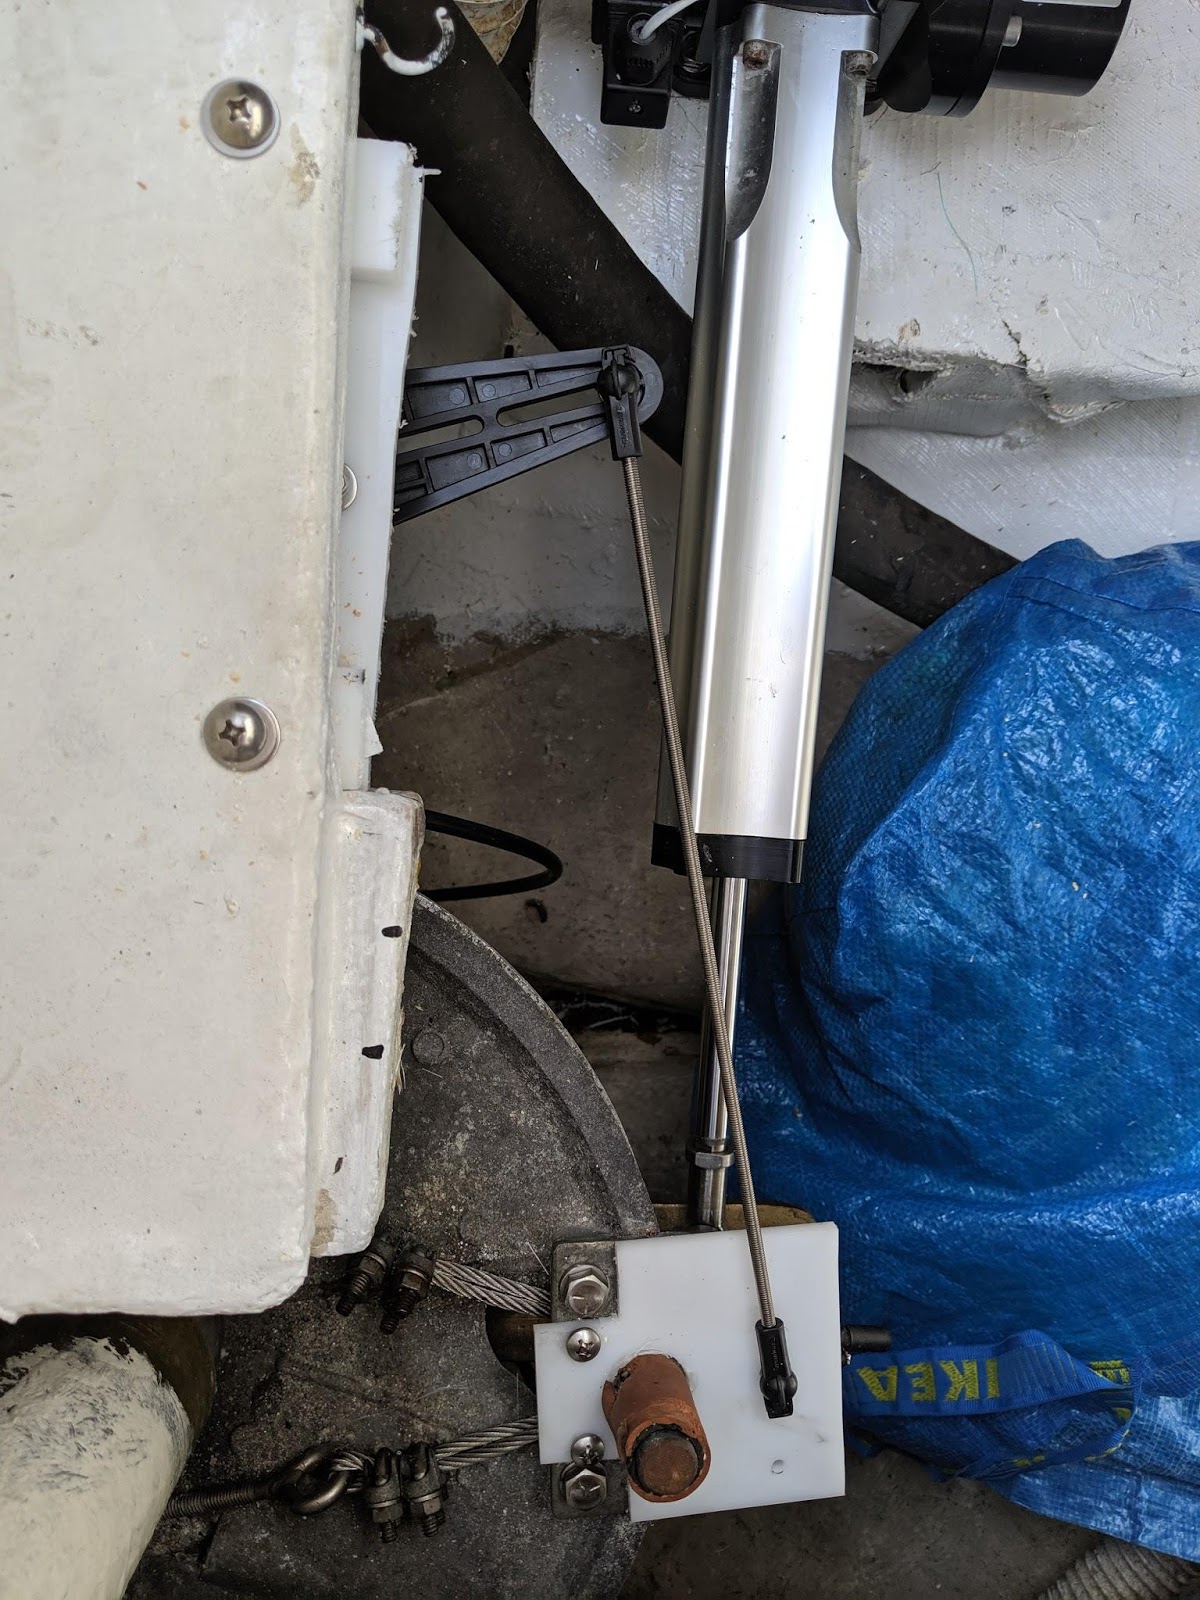


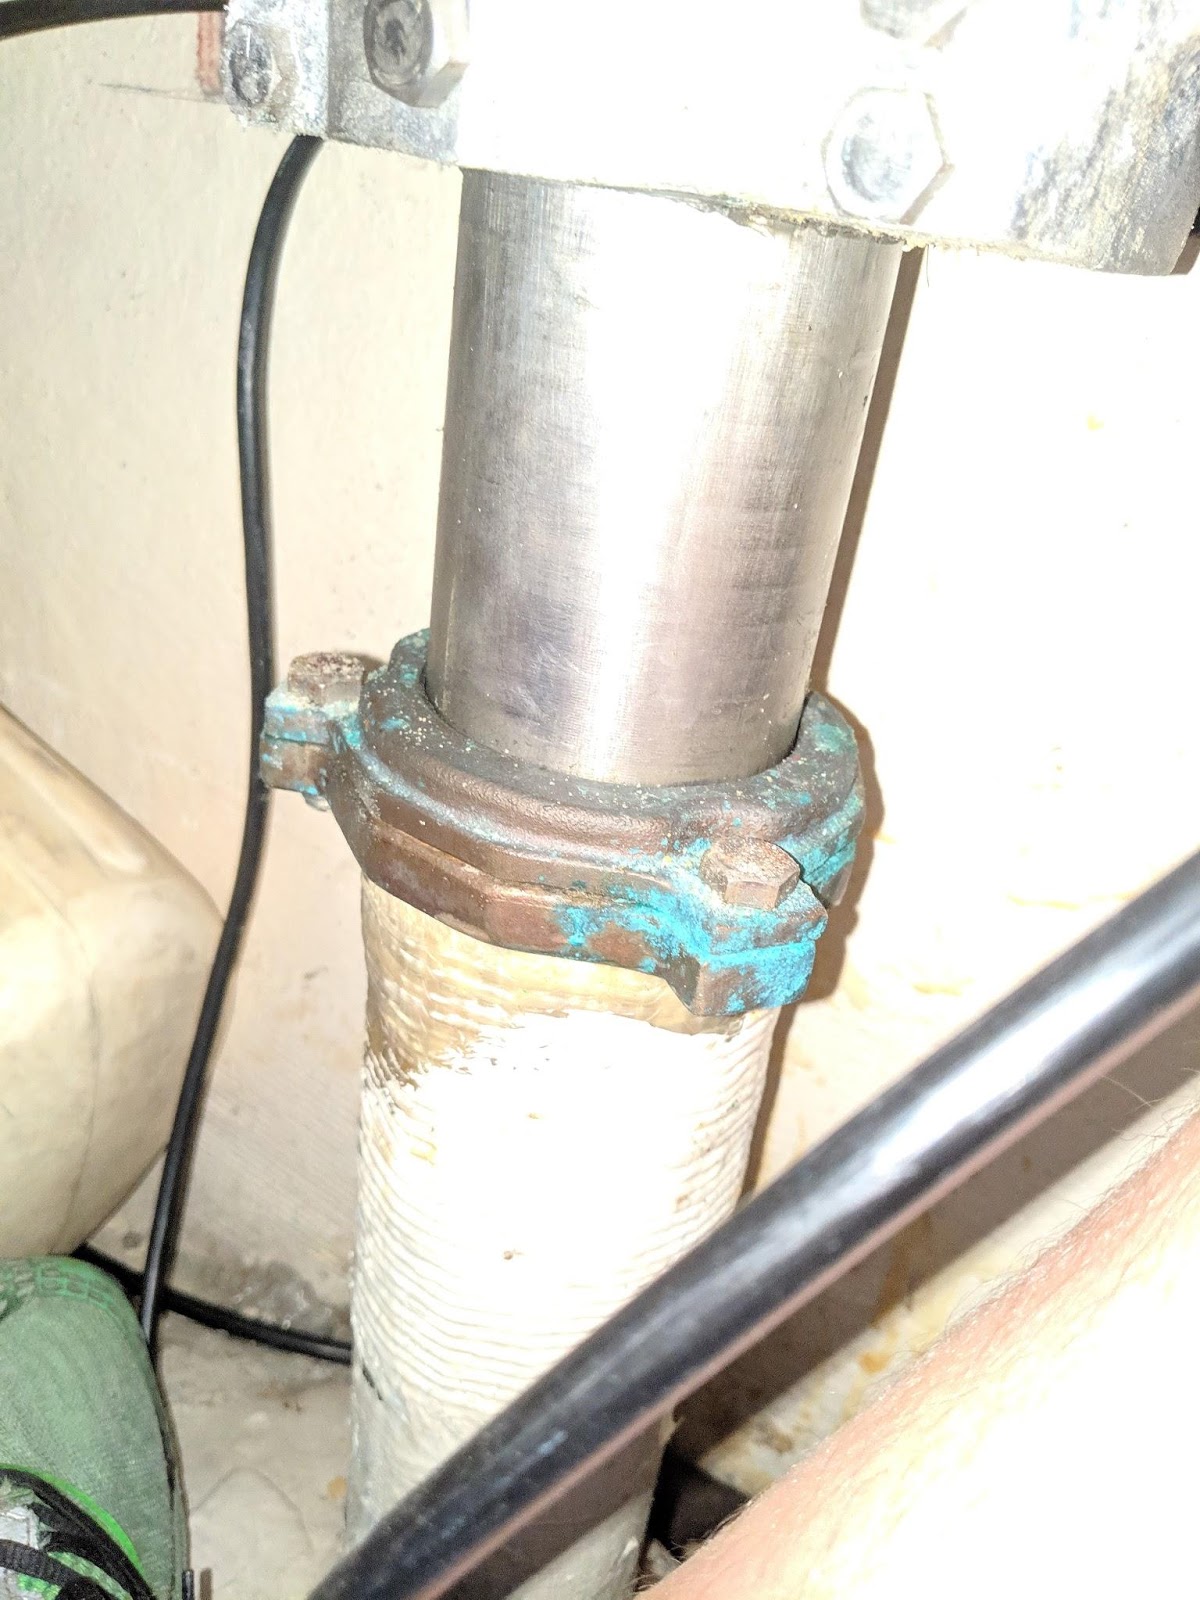
Rudder Stop modification

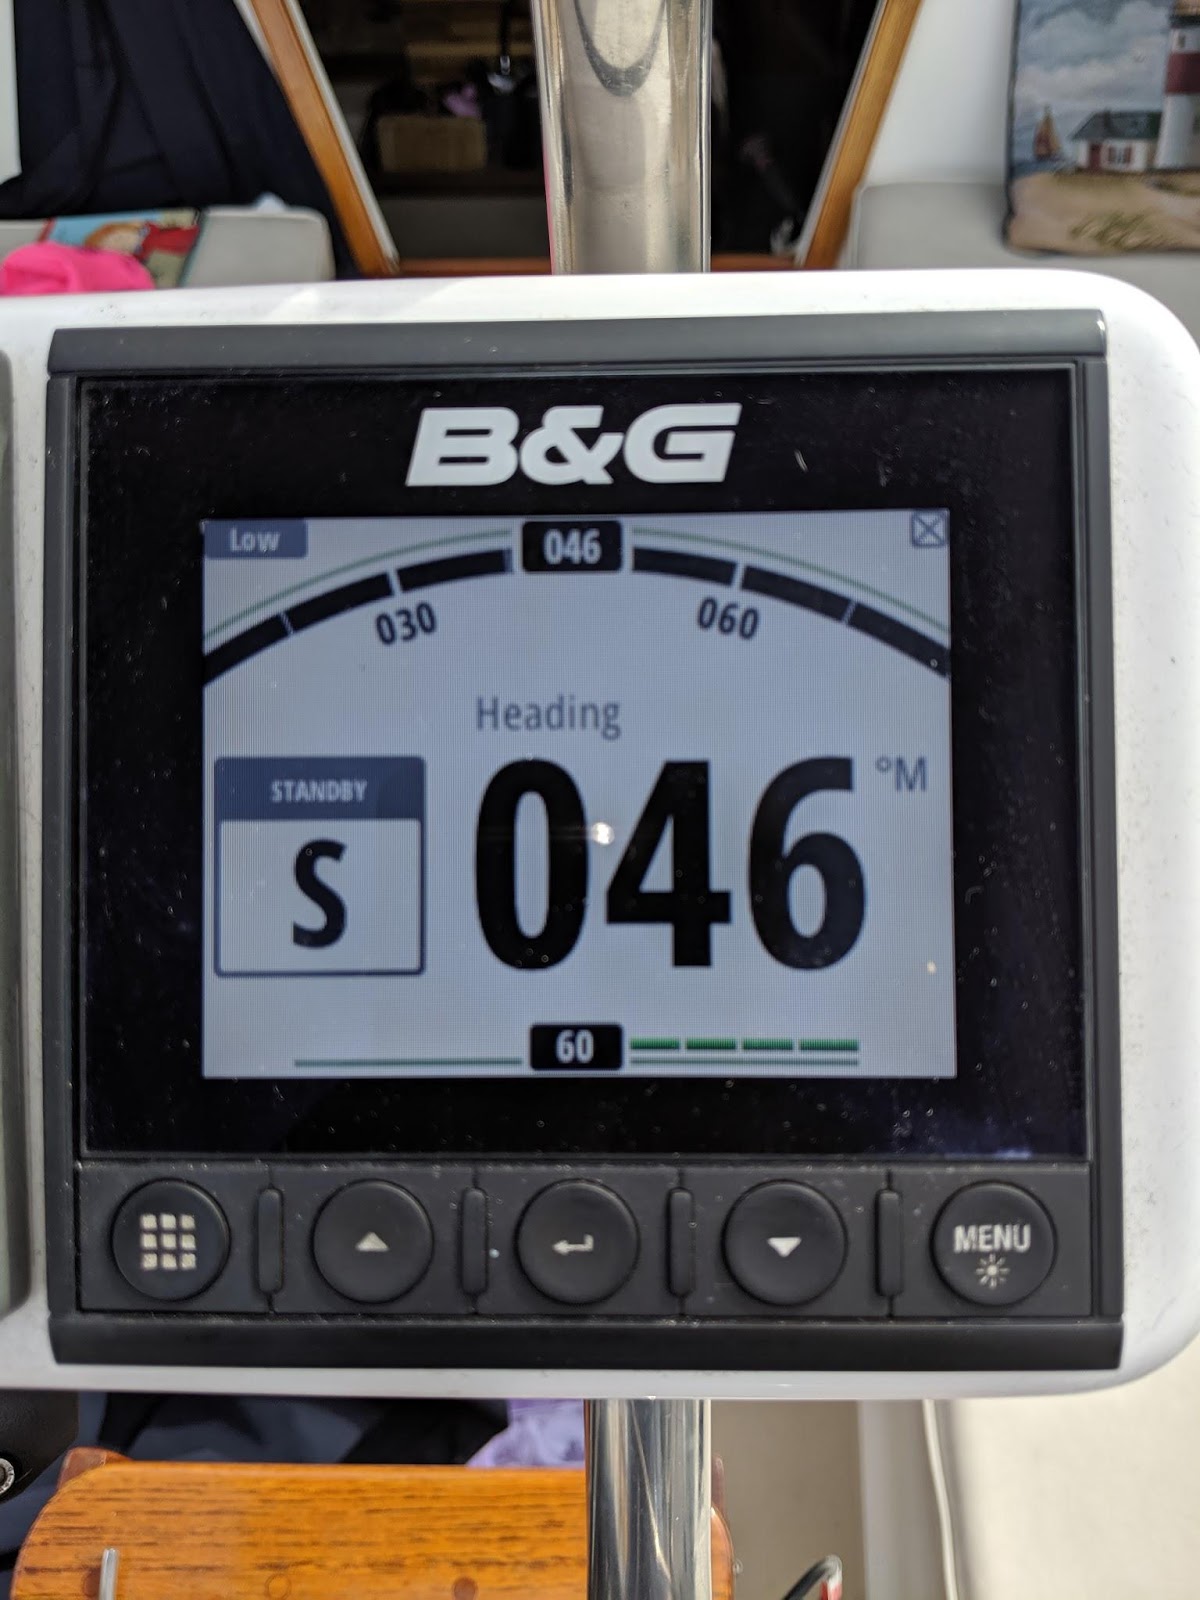
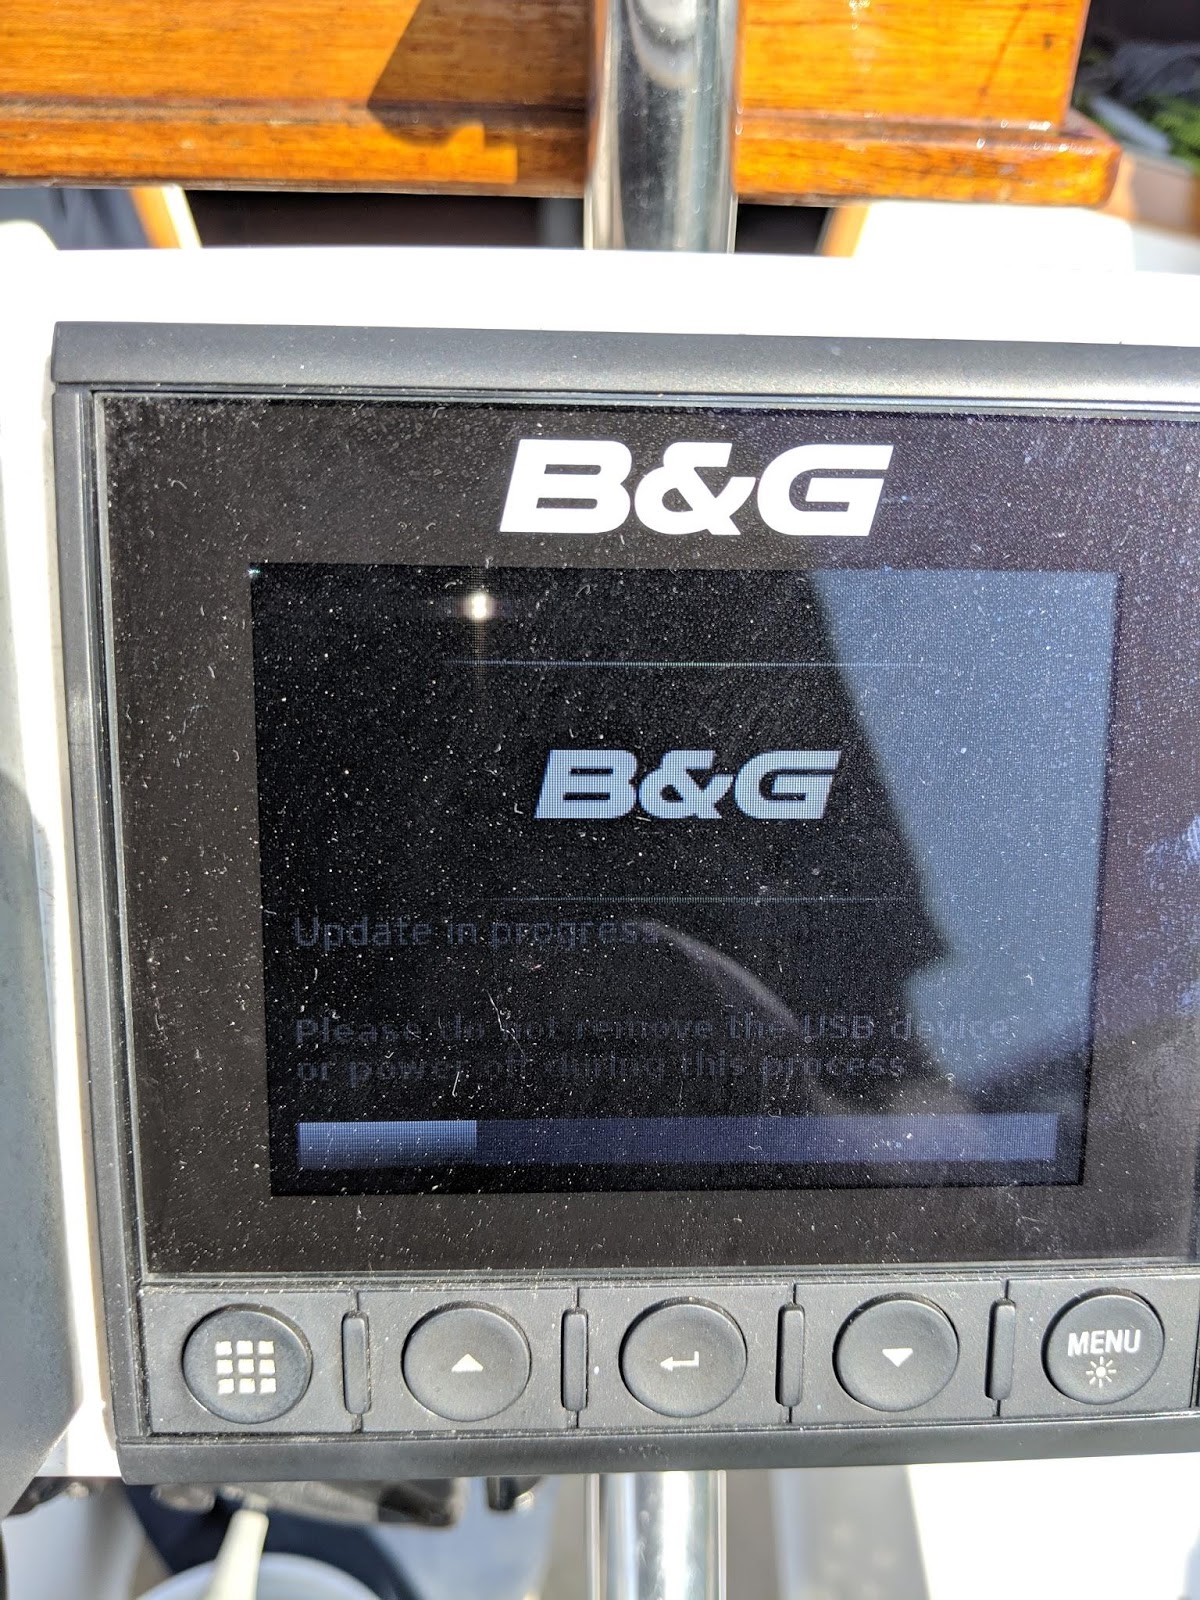
Firmware update and calibrations
I went through several update and calibration phases during this setup.
Remote Setup
The last step was to set up the B&G remote, again thank you B&G for their support during this process.
References
https://www.catalina36.org/members/technical/upgrades/installing-below-deck-autopilot-c36-mk-ii
https://mustloveboats.com/2014/02/24/below-decks-autopilot-diy-part-1-of-many/
https://mustloveboats.com/2014/03/04/below-decks-autopilot-diy-part-2-of-many/
https://mustloveboats.com/2014/03/13/below-decks-autopilot-diy-part-3-of-many/
https://mustloveboats.com/2014/03/24/below-decks-autopilot-diy-part-4-of-many/
https://mustloveboats.com/2014/07/27/below-decks-autopilot-install-diy-part-5-of-many/
https://mustloveboats.com/2016/05/21/autopilot-install-finish/
This was my 2019 project, way more work than expected but it works great! 🙂